
Money is the least fun part of running a gym, but Fytlink tries to make it the easiest bit of the app. This guide walks through everything: reading the dashboard, collecting dues, logging a payment for one member, and looking through their history.
What each number means
Before we tap anything, three words:
- Collected — money that has actually come in this month.
- Outstanding — money members owe you that hasn’t been paid yet.
- Dues — the outstanding balance for one specific member.
That’s the vocabulary. Everything else is just tapping.
Section 1 — Read the dashboard
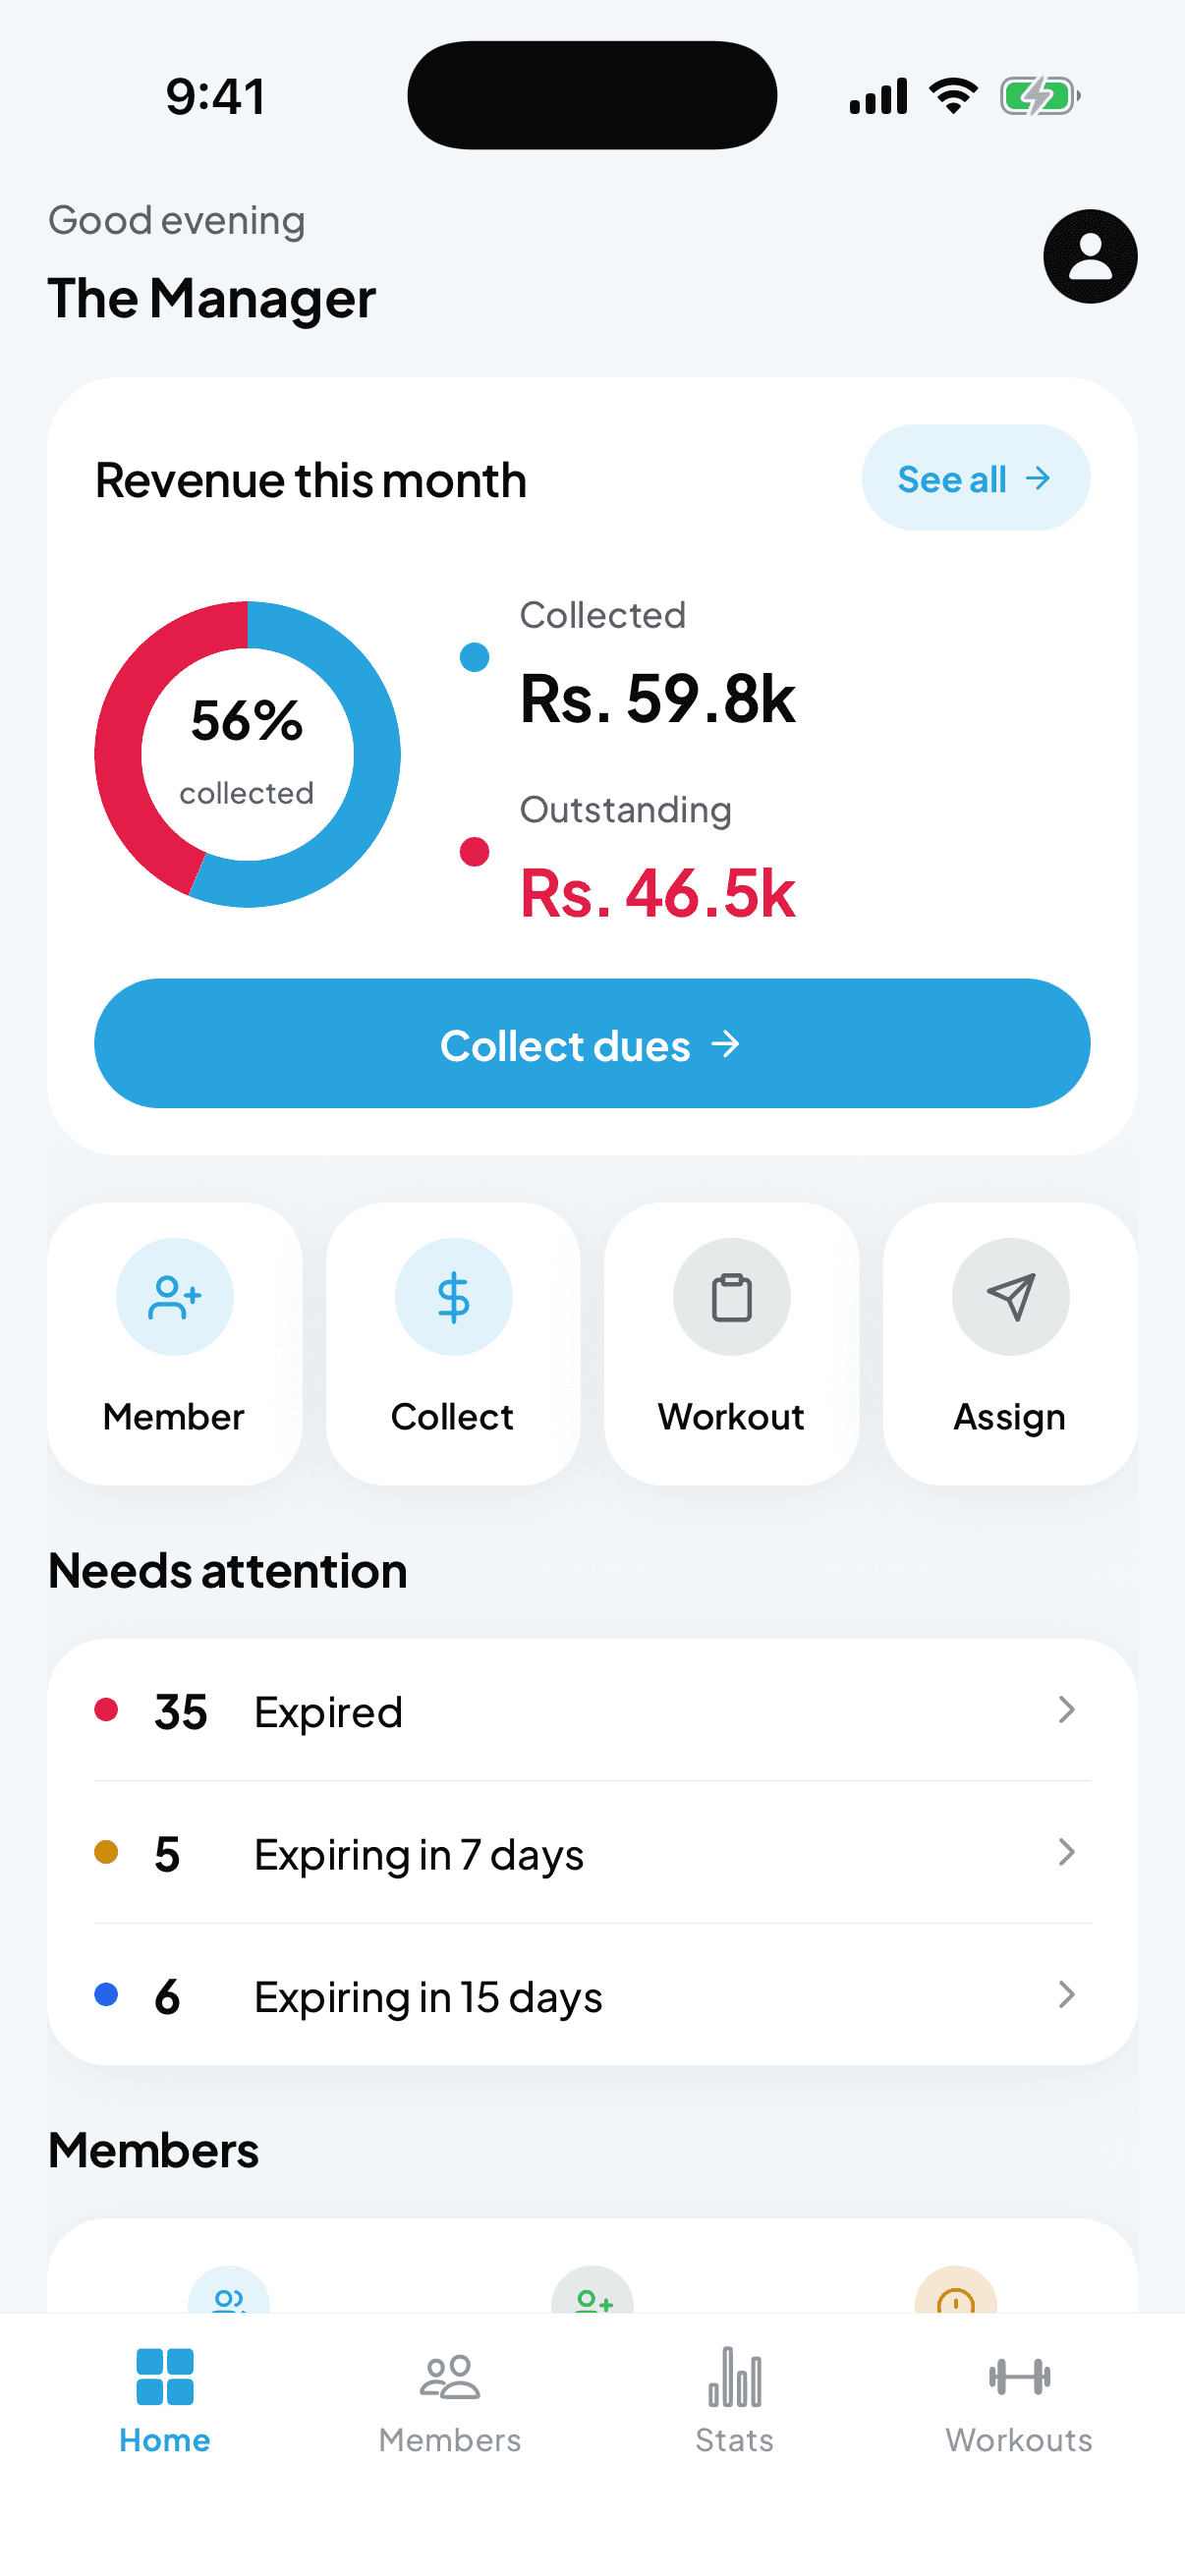
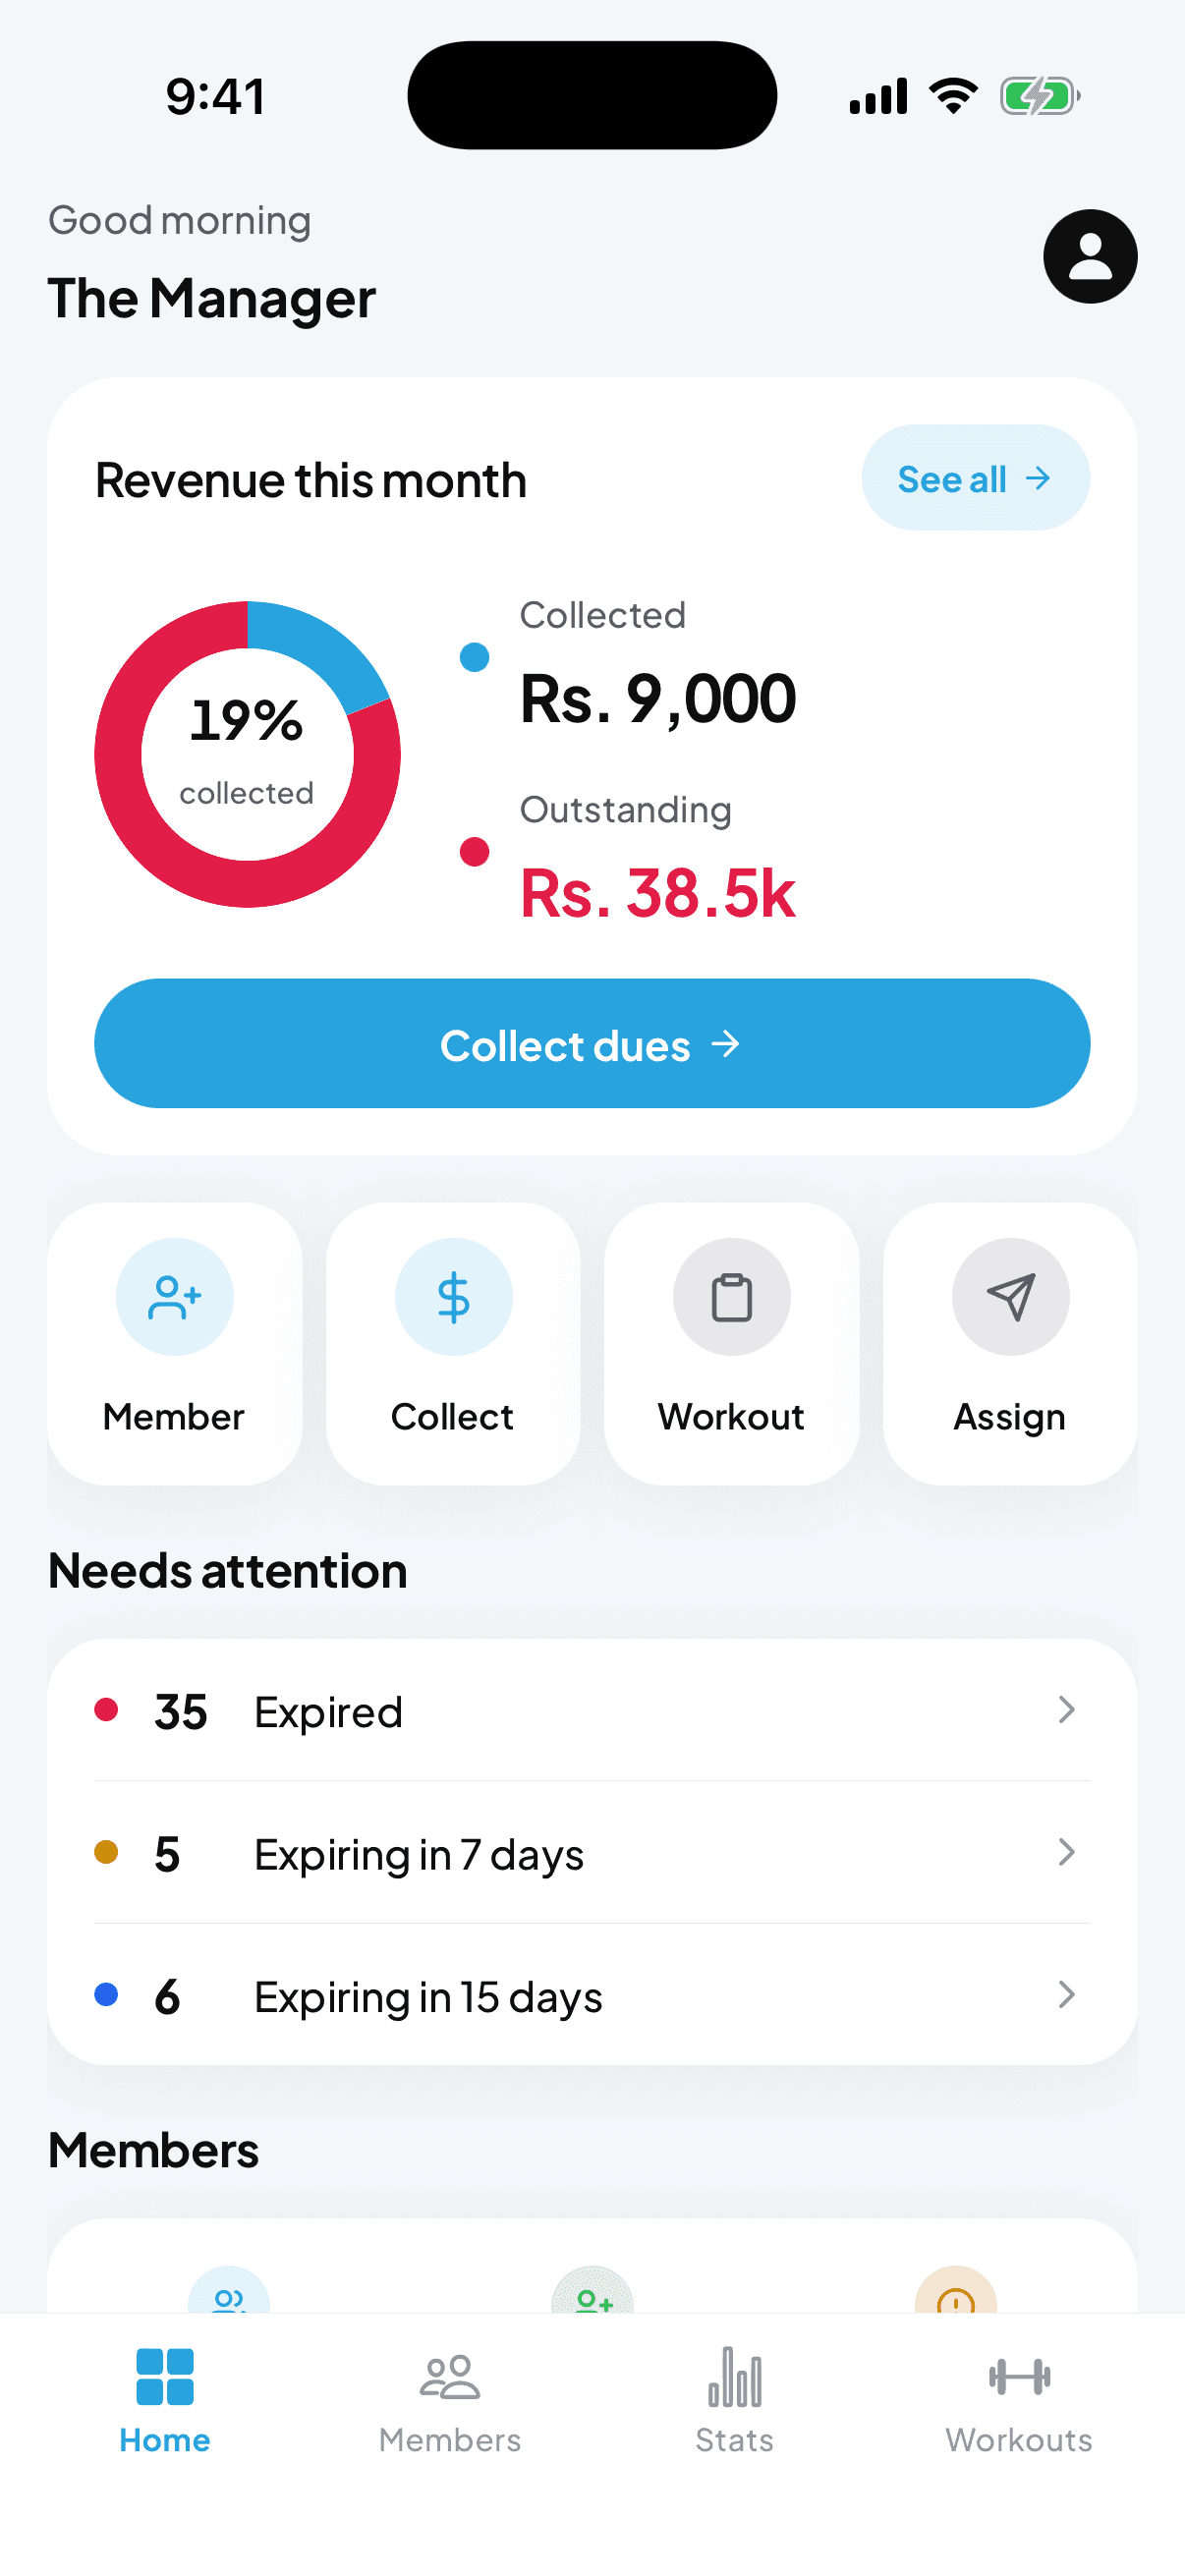
The first thing you see when you open Fytlink is the Revenue this month card at the top of Home. It has a donut on the left and two numbers on the right.
Open Home
Bottom tab Home (grid icon). If you’re somewhere else in the app, tap it once.
Read the donut
The percentage in the middle of the donut is how much of this month’s expected revenue you’ve actually collected. Blue arc = Collected, red arc = Outstanding.
See who owes
Below the donut is a Collect dues button (only appears when someone owes you money). Tap it — you jump straight into a list of members with outstanding balances, biggest first.
Section 2 — Collect a payment
Tap Collect (or Collect dues)
Either from the quick actions row or the revenue card.
Pick the member
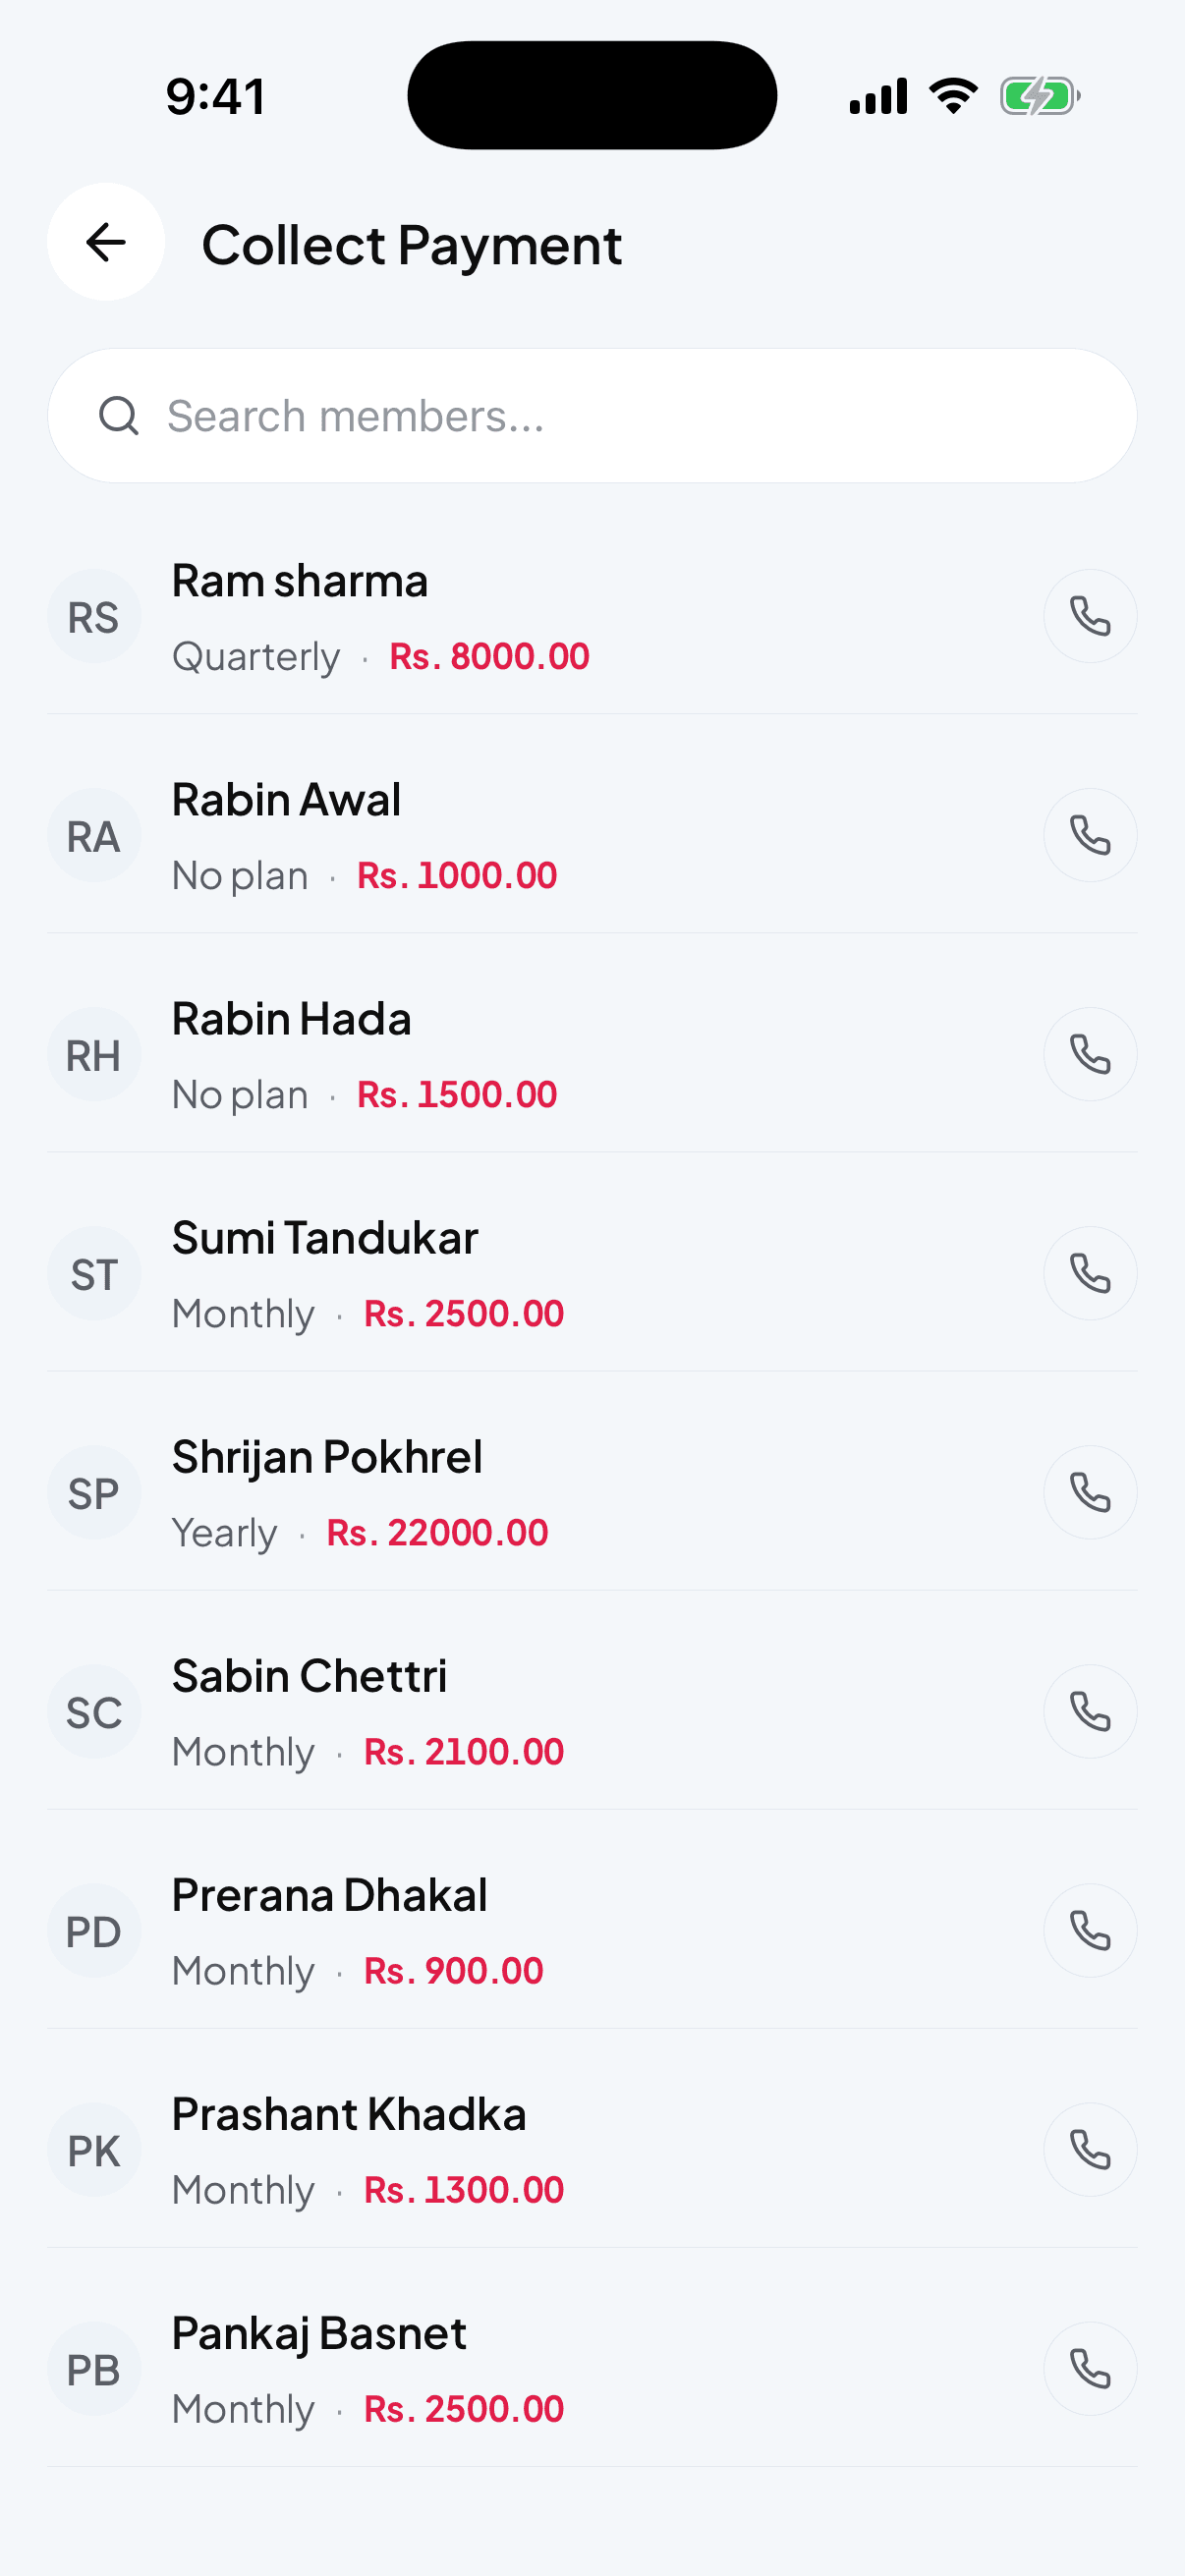
The Collect Payment picker opens with a search bar and everyone who owes money — each row shows their plan and how much they’re on the hook for. Tap the person.
Fill in Record payment
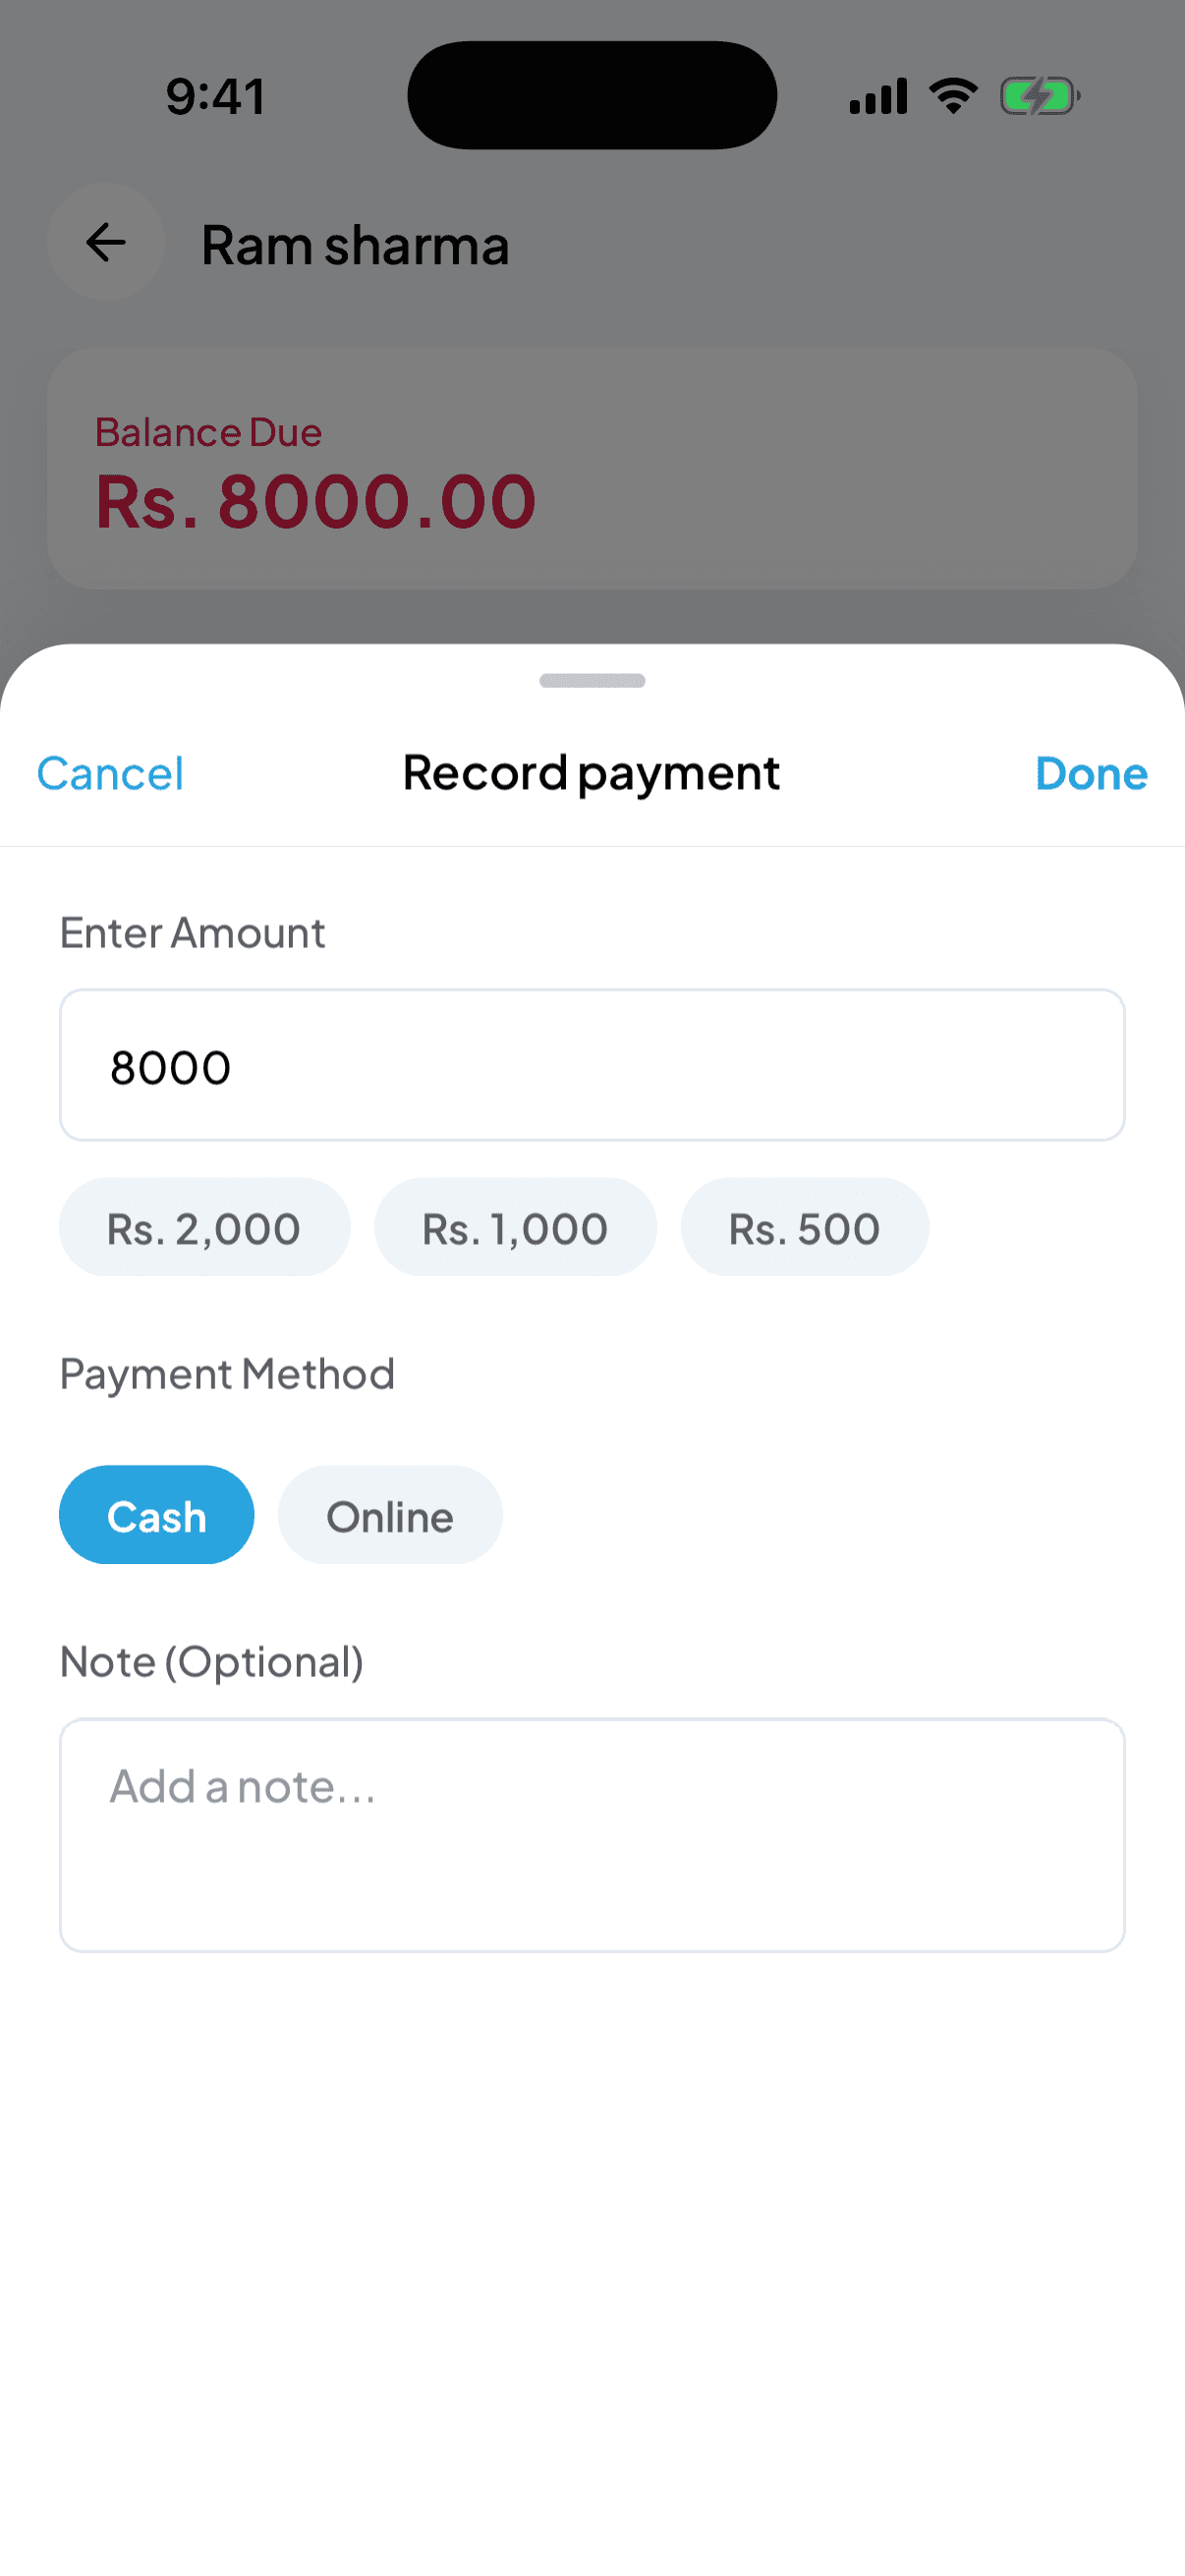
A sheet slides up titled Record payment. The Enter Amount field auto-fills with their outstanding balance — you can leave it, or use the quick chips (Rs. 2,000, Rs. 1,000, Rs. 500) to knock a common amount off. Pick a Payment Method — Cash or Online. Add a Note (Optional) if you want a receipt line.
Tap Done
The transaction is saved. Their balance drops, the dashboard donut updates, and the Revenue this month number goes up.
Section 3 — Log a payment for one specific member
Sometimes a member walks up and pays without you starting from the dashboard. Same sheet, different entry point.
Open the member
Bottom tab Members → tap their row.
Tap the Unpaid card
On their profile you’ll see a red Unpaid Rs. [amount] card near the top with the subtitle “Tap to collect payment”. Tap anywhere on it.
Record the payment
Same Record payment sheet as before. Amount, method, note, Done.
Section 4 — See a member’s full transaction history
Open the member
Bottom tab Members → tap the row.
Tap Payments
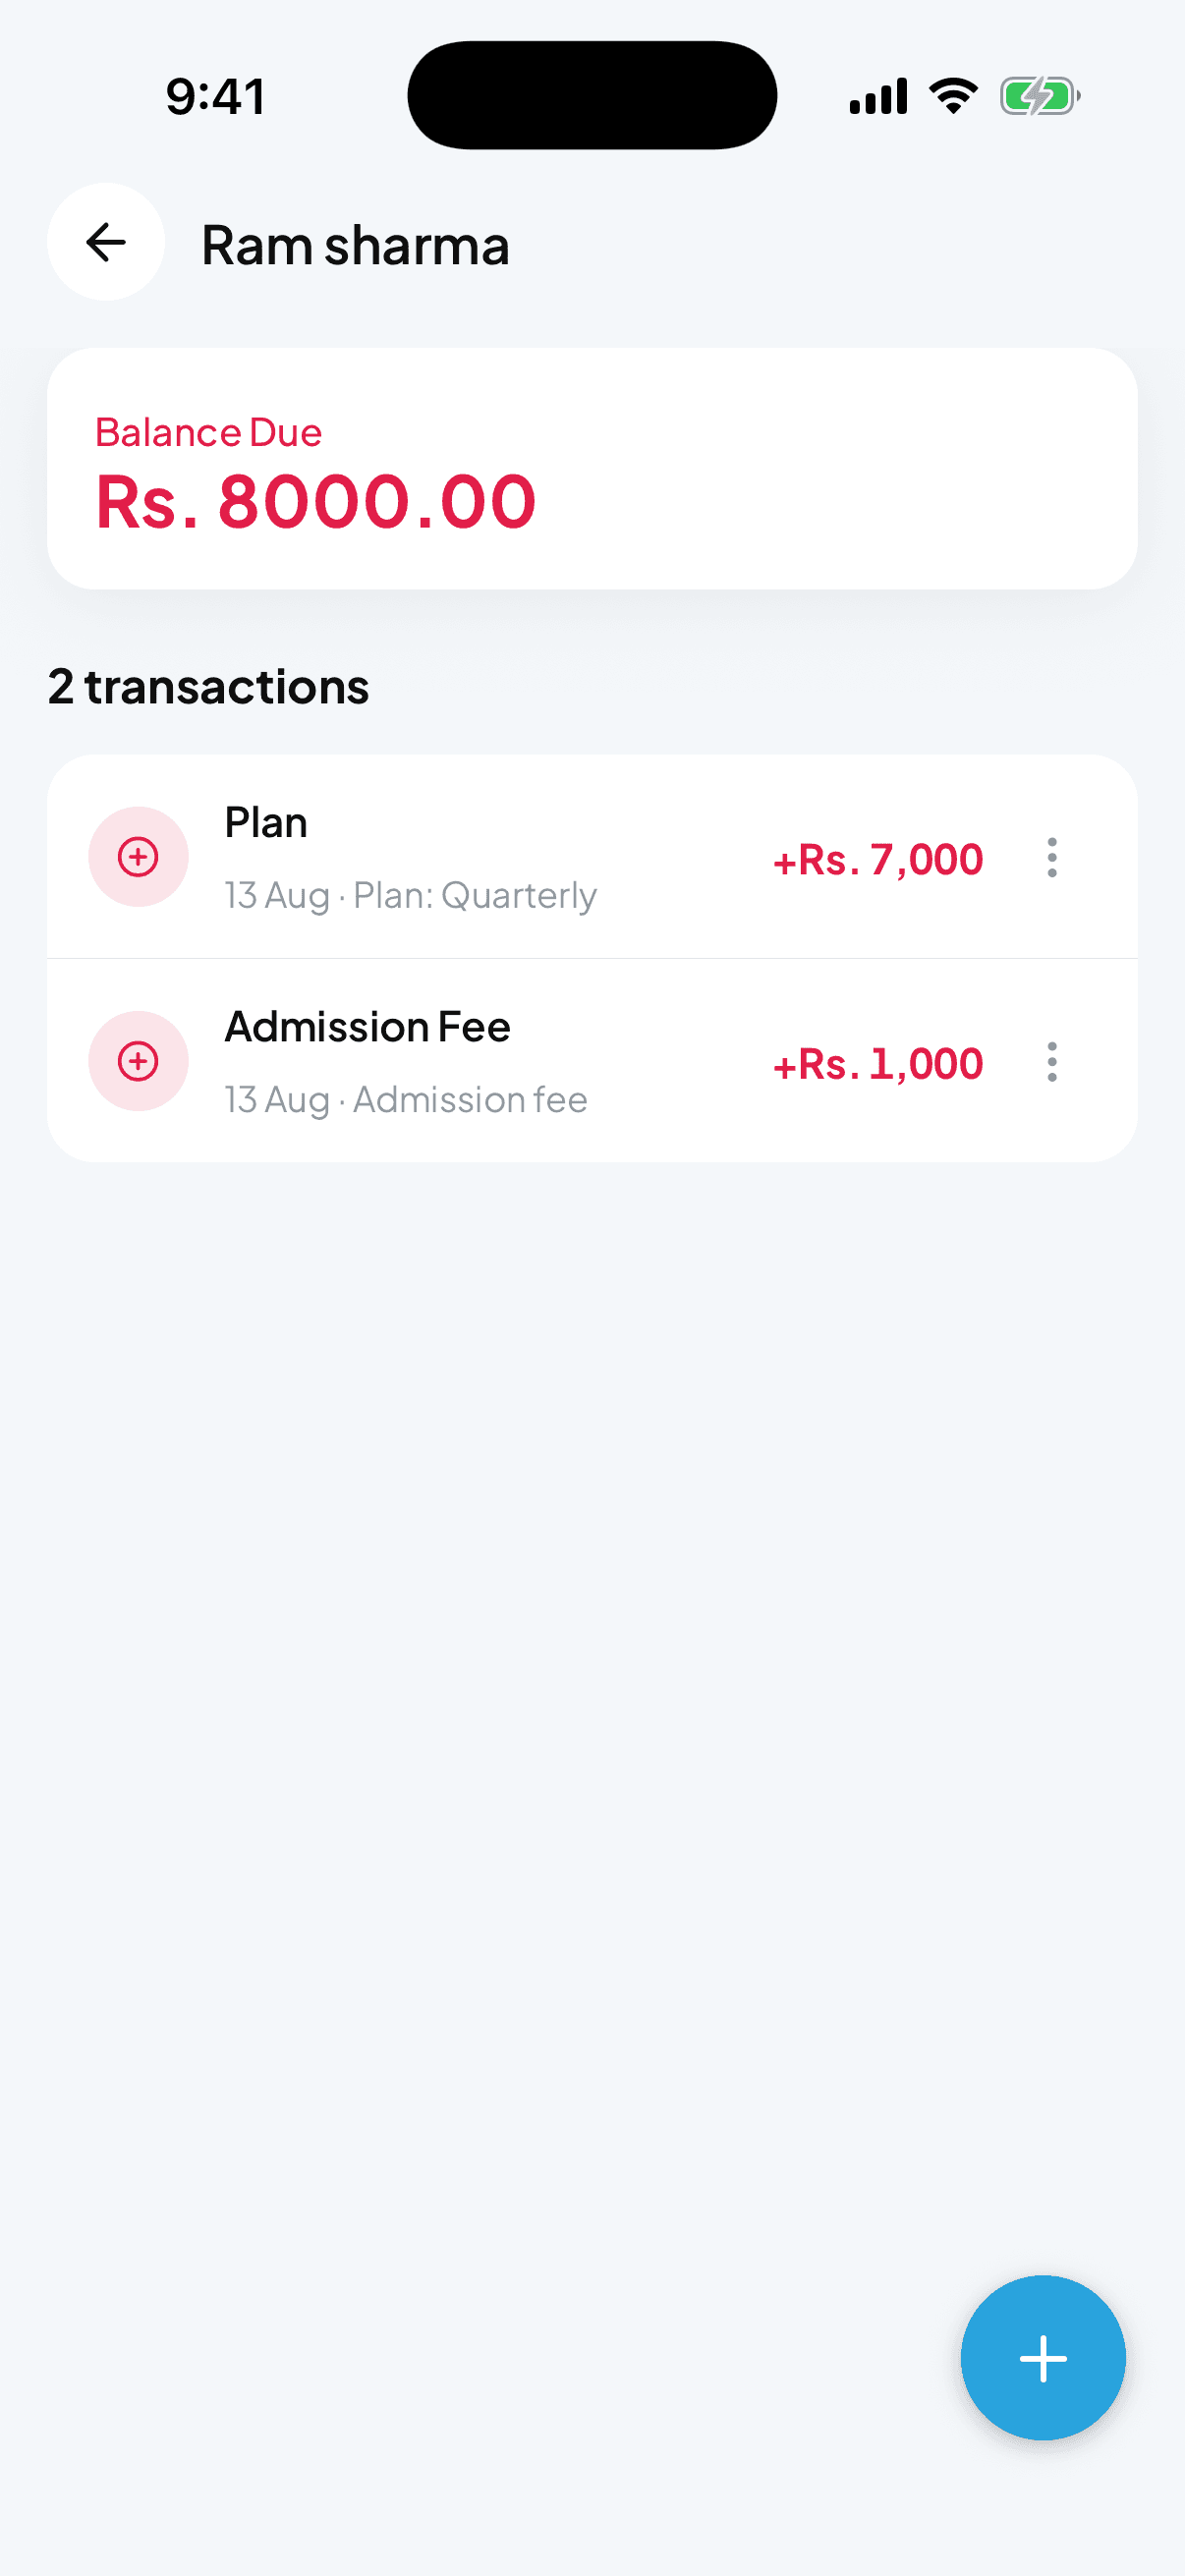
In the Activity section on their profile, tap the Payments row. The Transactions screen opens with the member’s name banner at the top and every charge and payment listed by date.
Read the list
At the top you see Balance Due (red if they owe you), then a [N] transactions header, then each row. Rows show the type (Plan, Admission Fee, Cash, Online), the date, and the amount — +Rs. for charges the member owes, -Rs. for payments they’ve made.
Section 5 — Fix a mistake
Made a wrong entry? You don’t delete transactions — you void them, which keeps the audit trail clean.
Find the transaction
Member profile → Payments → find the row.
Tap the ⋯ menu
On the right of the row, tap the ⋯ icon and choose Void transaction.
Add a reason (optional)
A confirm dialog appears. Add a short reason if you want ("wrong plan", "duplicate cash entry") — that reason shows in the ledger under the voided row.
Toggle Show voided when needed
Voided rows disappear from the default view. Tap Show [n] voided at the top of the transactions list any time you want to see them again.
Common questions
Where do I see my whole gym’s revenue over time (not just this month)? Bottom tab Stats. That screen has month-by-month totals, member counts, and dues aged over time.
A member paid partially — can I record that? Yes. Change the amount in the Record payment sheet before you tap Done. The balance updates by exactly what you entered.
Someone paid me last week but I forgot to log it. Can I back-date? Yes — during Record payment, tap the date to change it. Fytlink accepts any date up to today.
Can I see who’s about to expire and hasn’t paid? Yes — the Needs attention section on the dashboard breaks it down: red Expired, yellow Expiring in 7 days, blue Expiring in 15 days. Tap any row to see the members.
Do I have to enter payments per session? Every day? No. Fytlink charges the member’s plan automatically when they join or renew. You only touch the payment sheet when you actually collect cash or record an online transfer.
Keep reading
How to add your first member
A 60-second walkthrough for getting your first gym member into fytlink — from name and phone through their first plan.
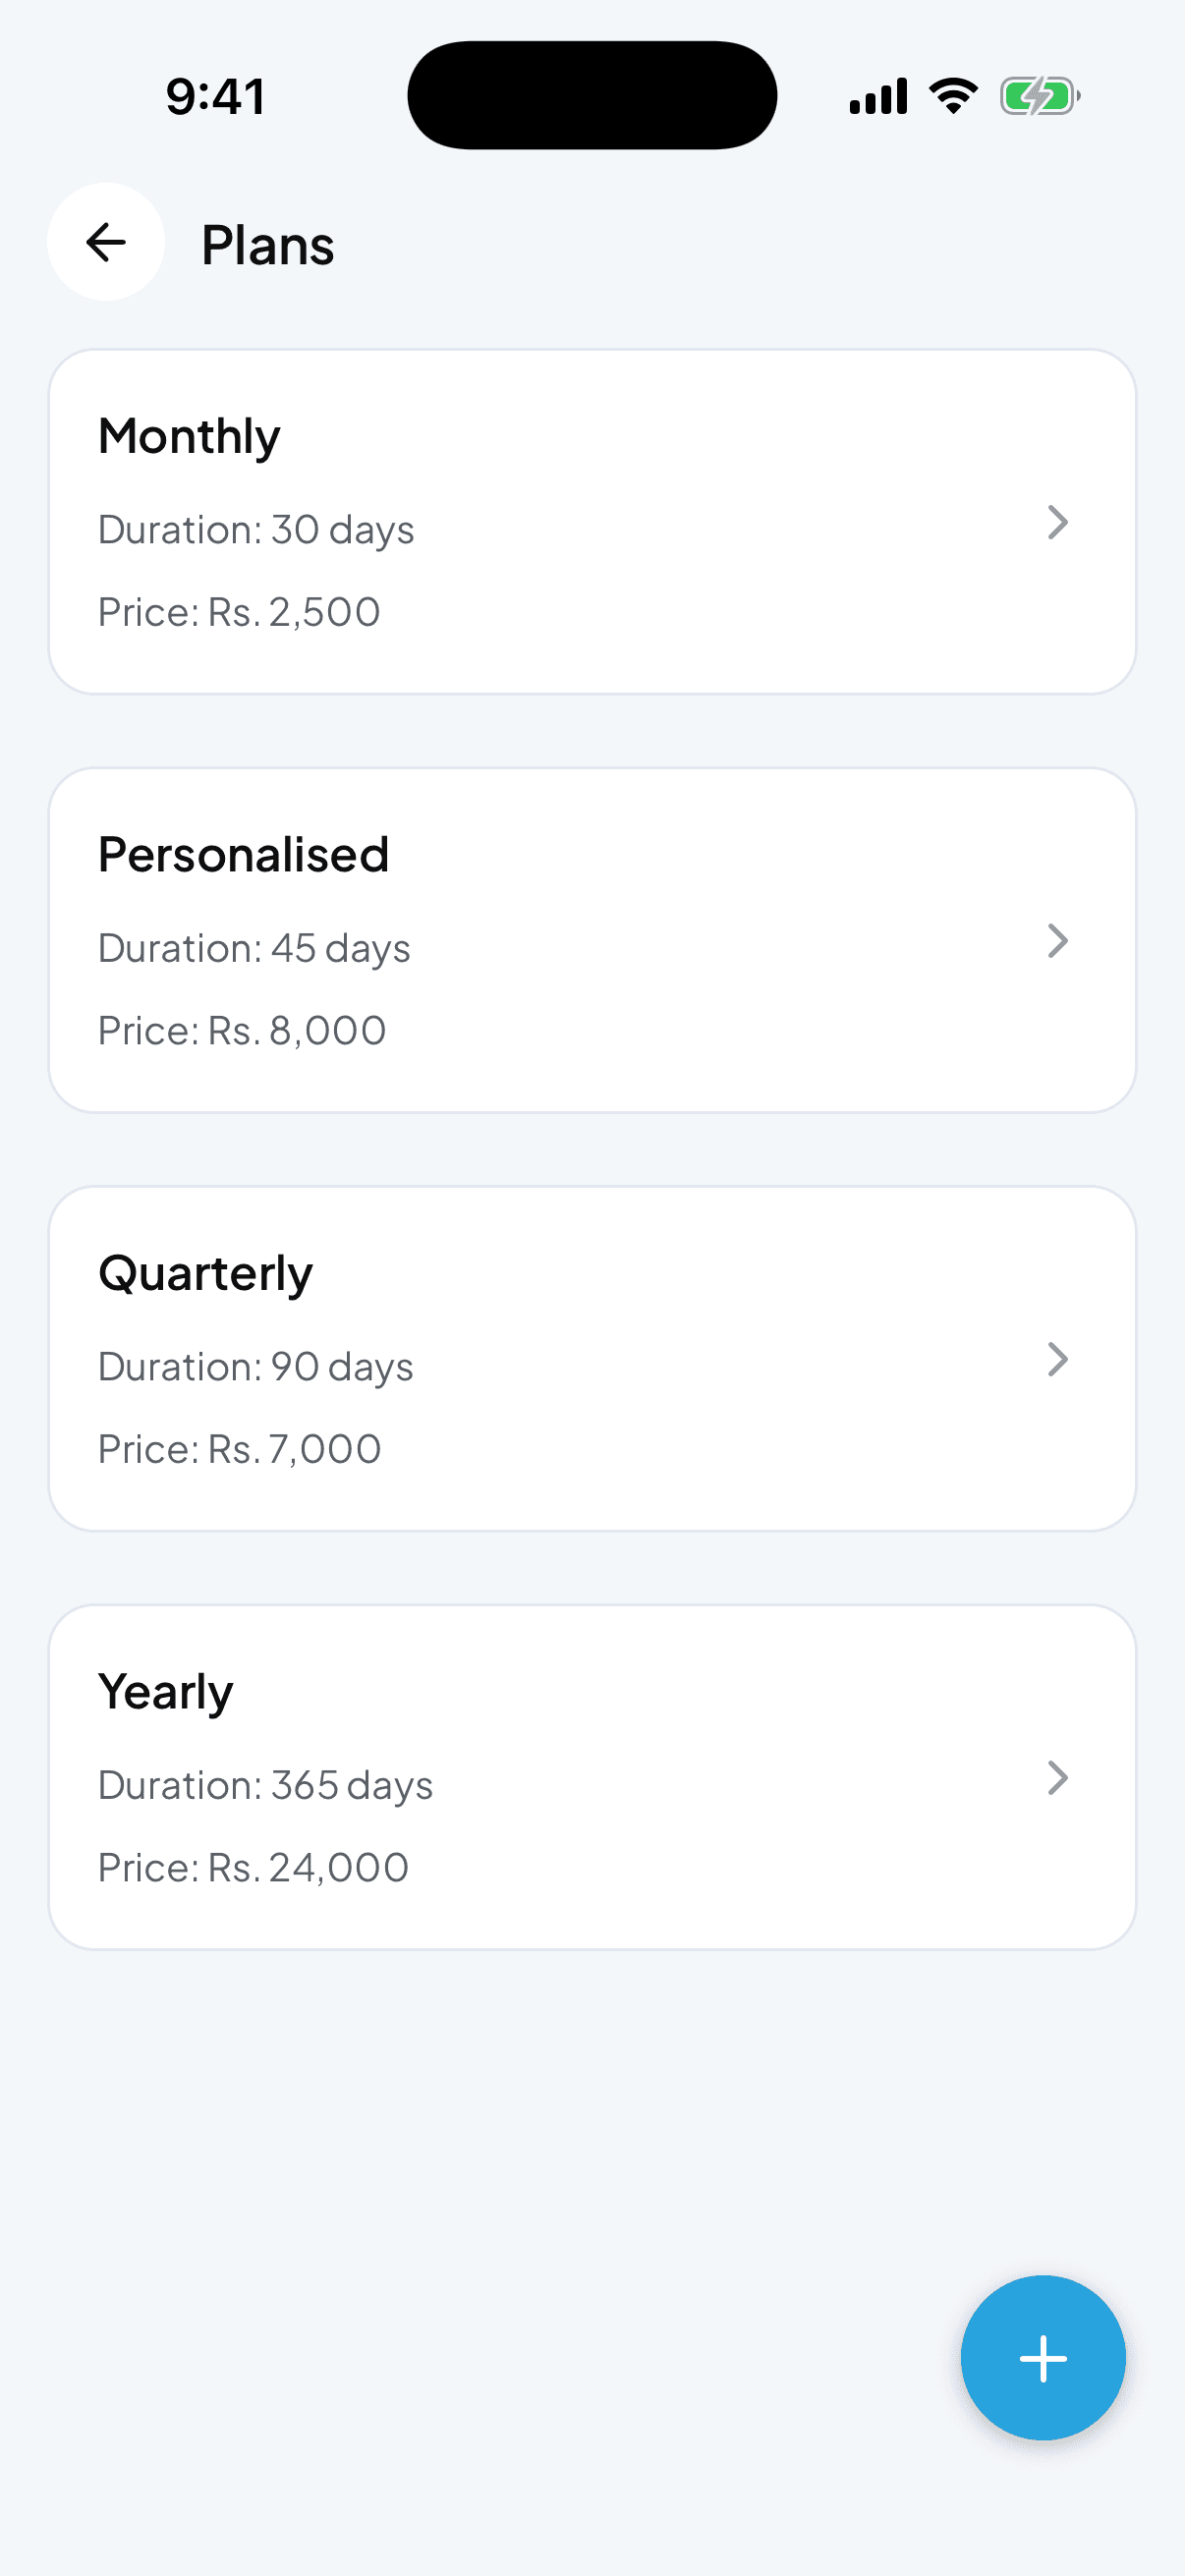
How to create and manage membership plans
Plans are how Fytlink knows what to charge each member and when they expire. Set up your monthly, quarterly, and yearly plans in a couple of minutes.
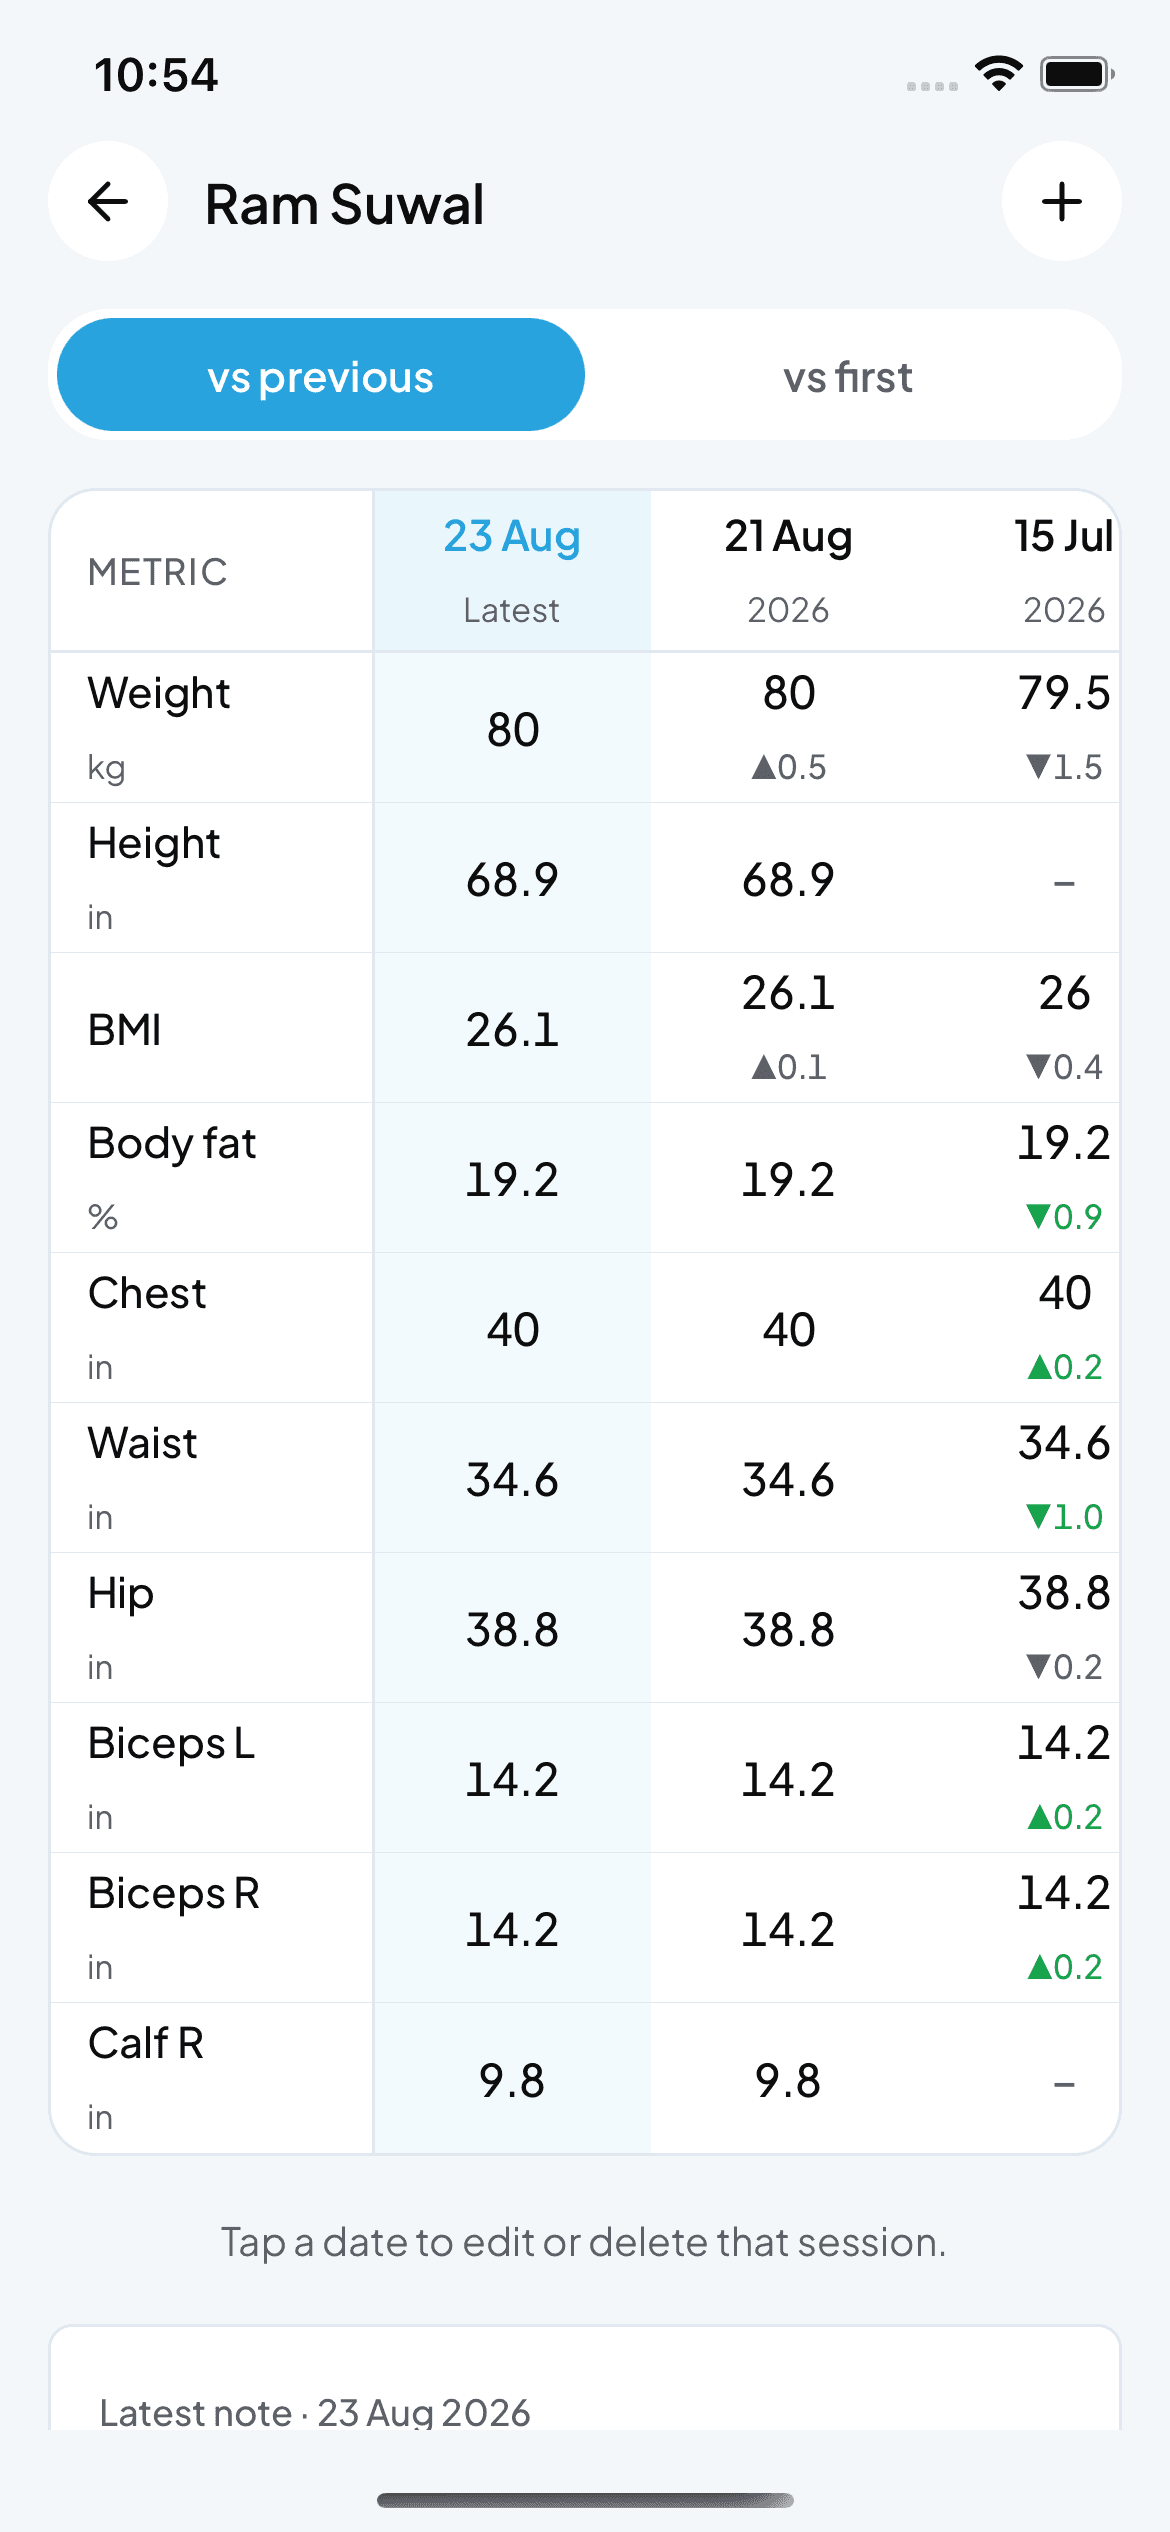
How to record and read body measurements
Fytlink tracks weight, tape and caliper readings per member as dated sessions. This guide walks through recording a session, reading the change grid, picking your unit system, and fixing bad entries.