
Aug 23, 20268 min readby Fytlink team
How to record and read body measurements
Fytlink tracks weight, tape and caliper readings per member as dated sessions. This guide walks through recording a session, reading the change grid, picking your unit system, and fixing bad entries.
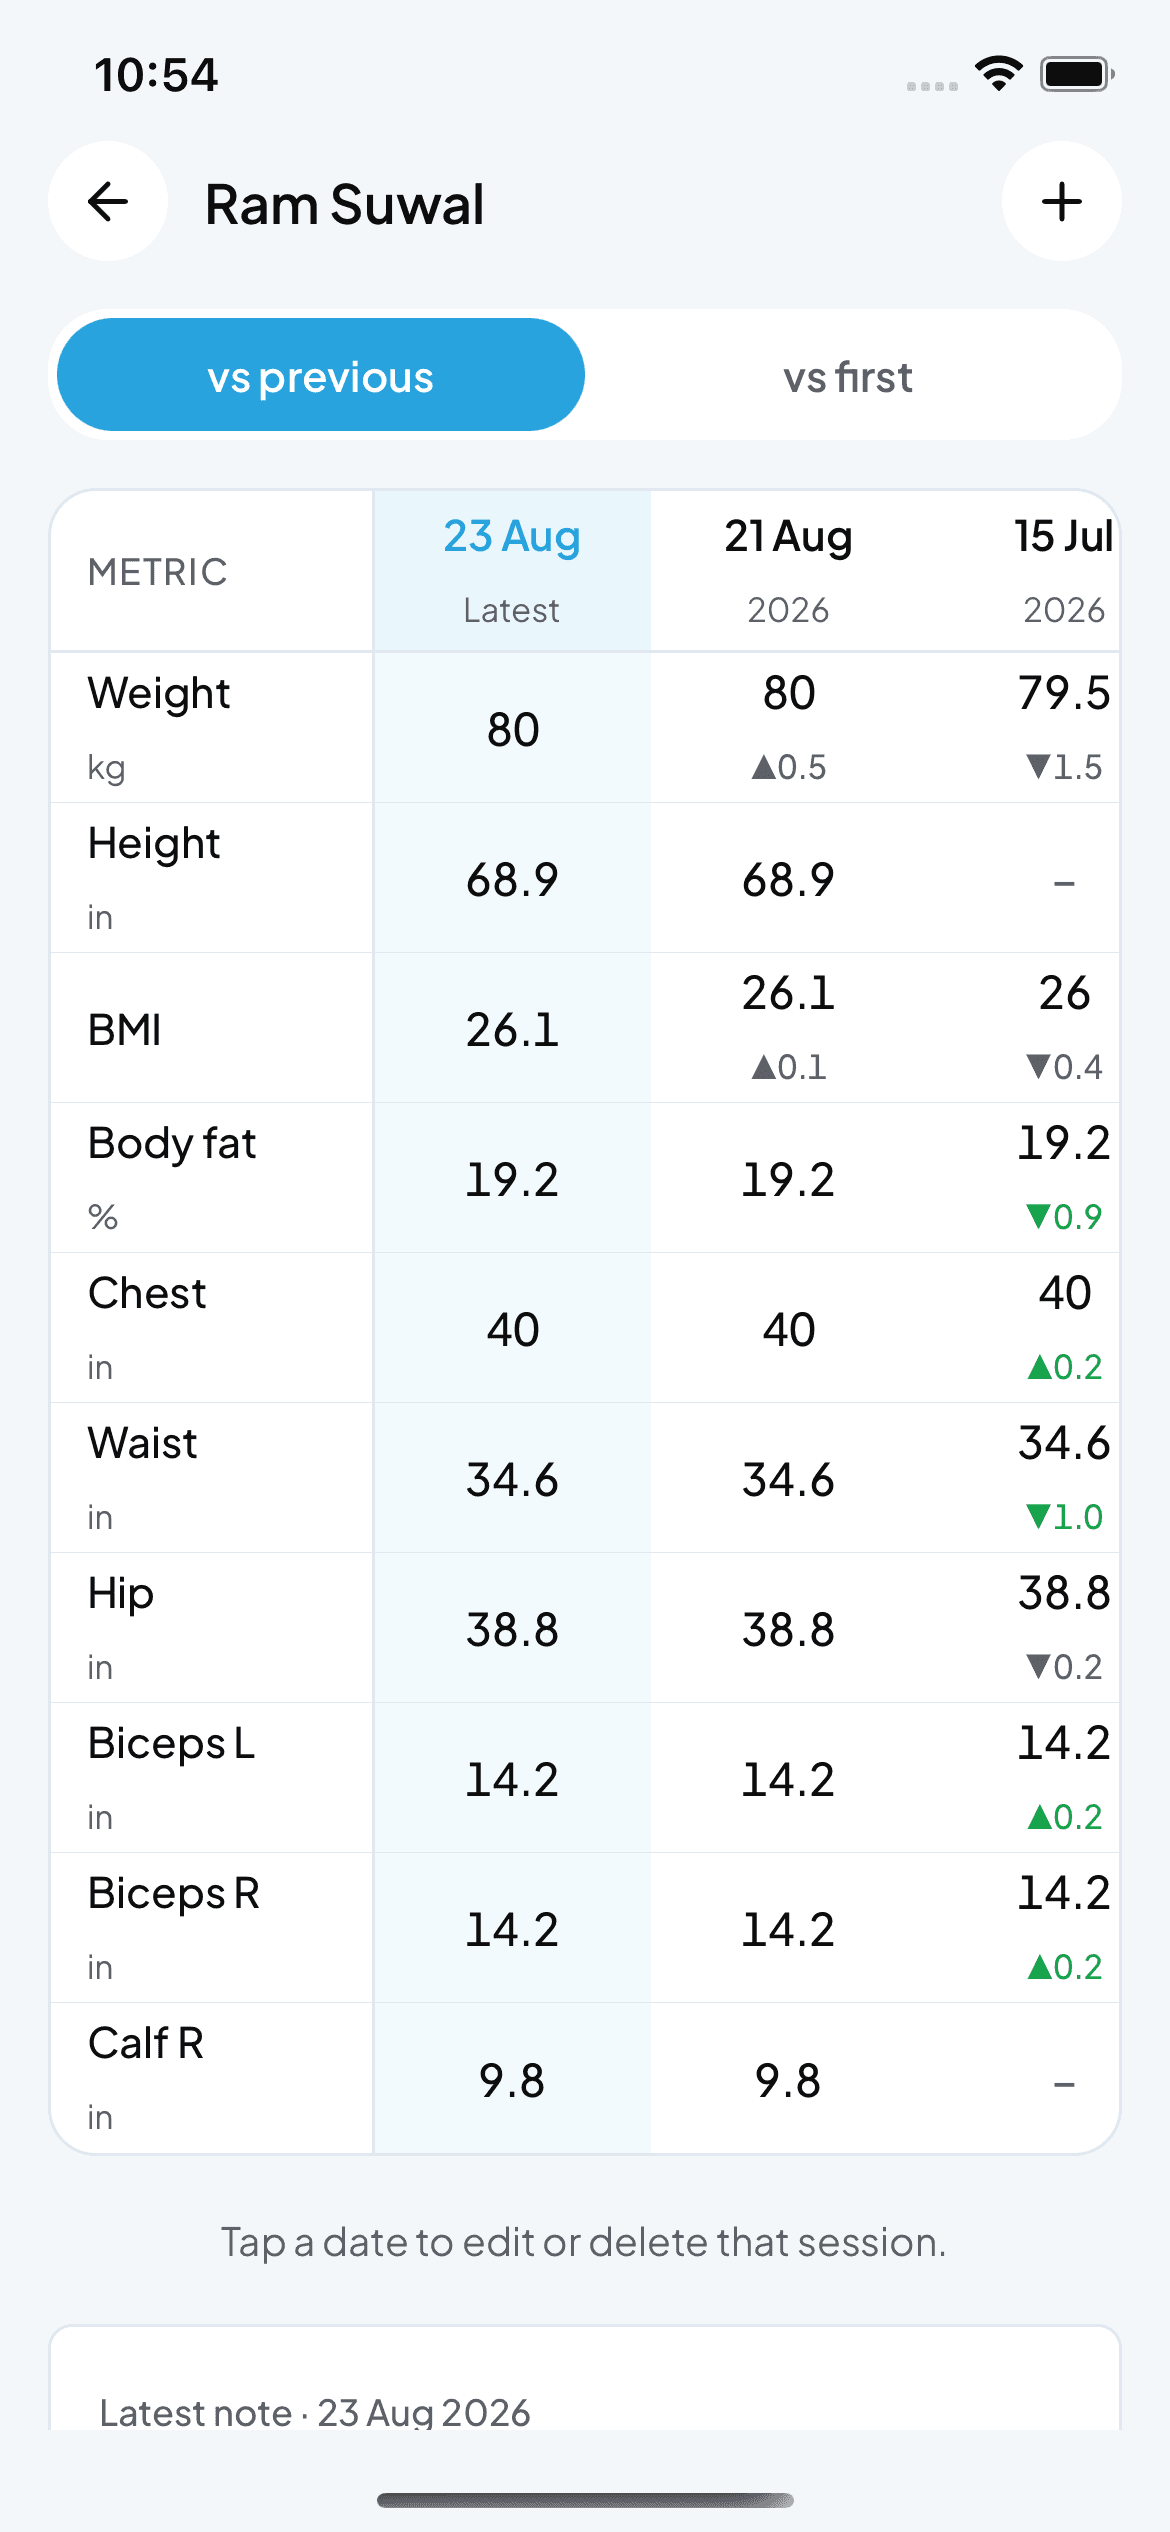
Members care about numbers moving in the right direction. Fytlink tracks weight, height, body fat and every tape reading as a session on a specific date, then shows the change between sessions so nobody has to hold the numbers in their head.
This guide covers the whole loop: setting your unit preference, recording a session, reading the grid, editing a bad entry, and understanding what the deltas mean.
Section 1 — Pick your unit system (once)
Fytlink stores every reading in kilograms and centimetres internally so you can switch units any time without losing history. Pick the system your staff actually use with a tape and scale.
Open Profile
From Home, tap your avatar in the top-right.
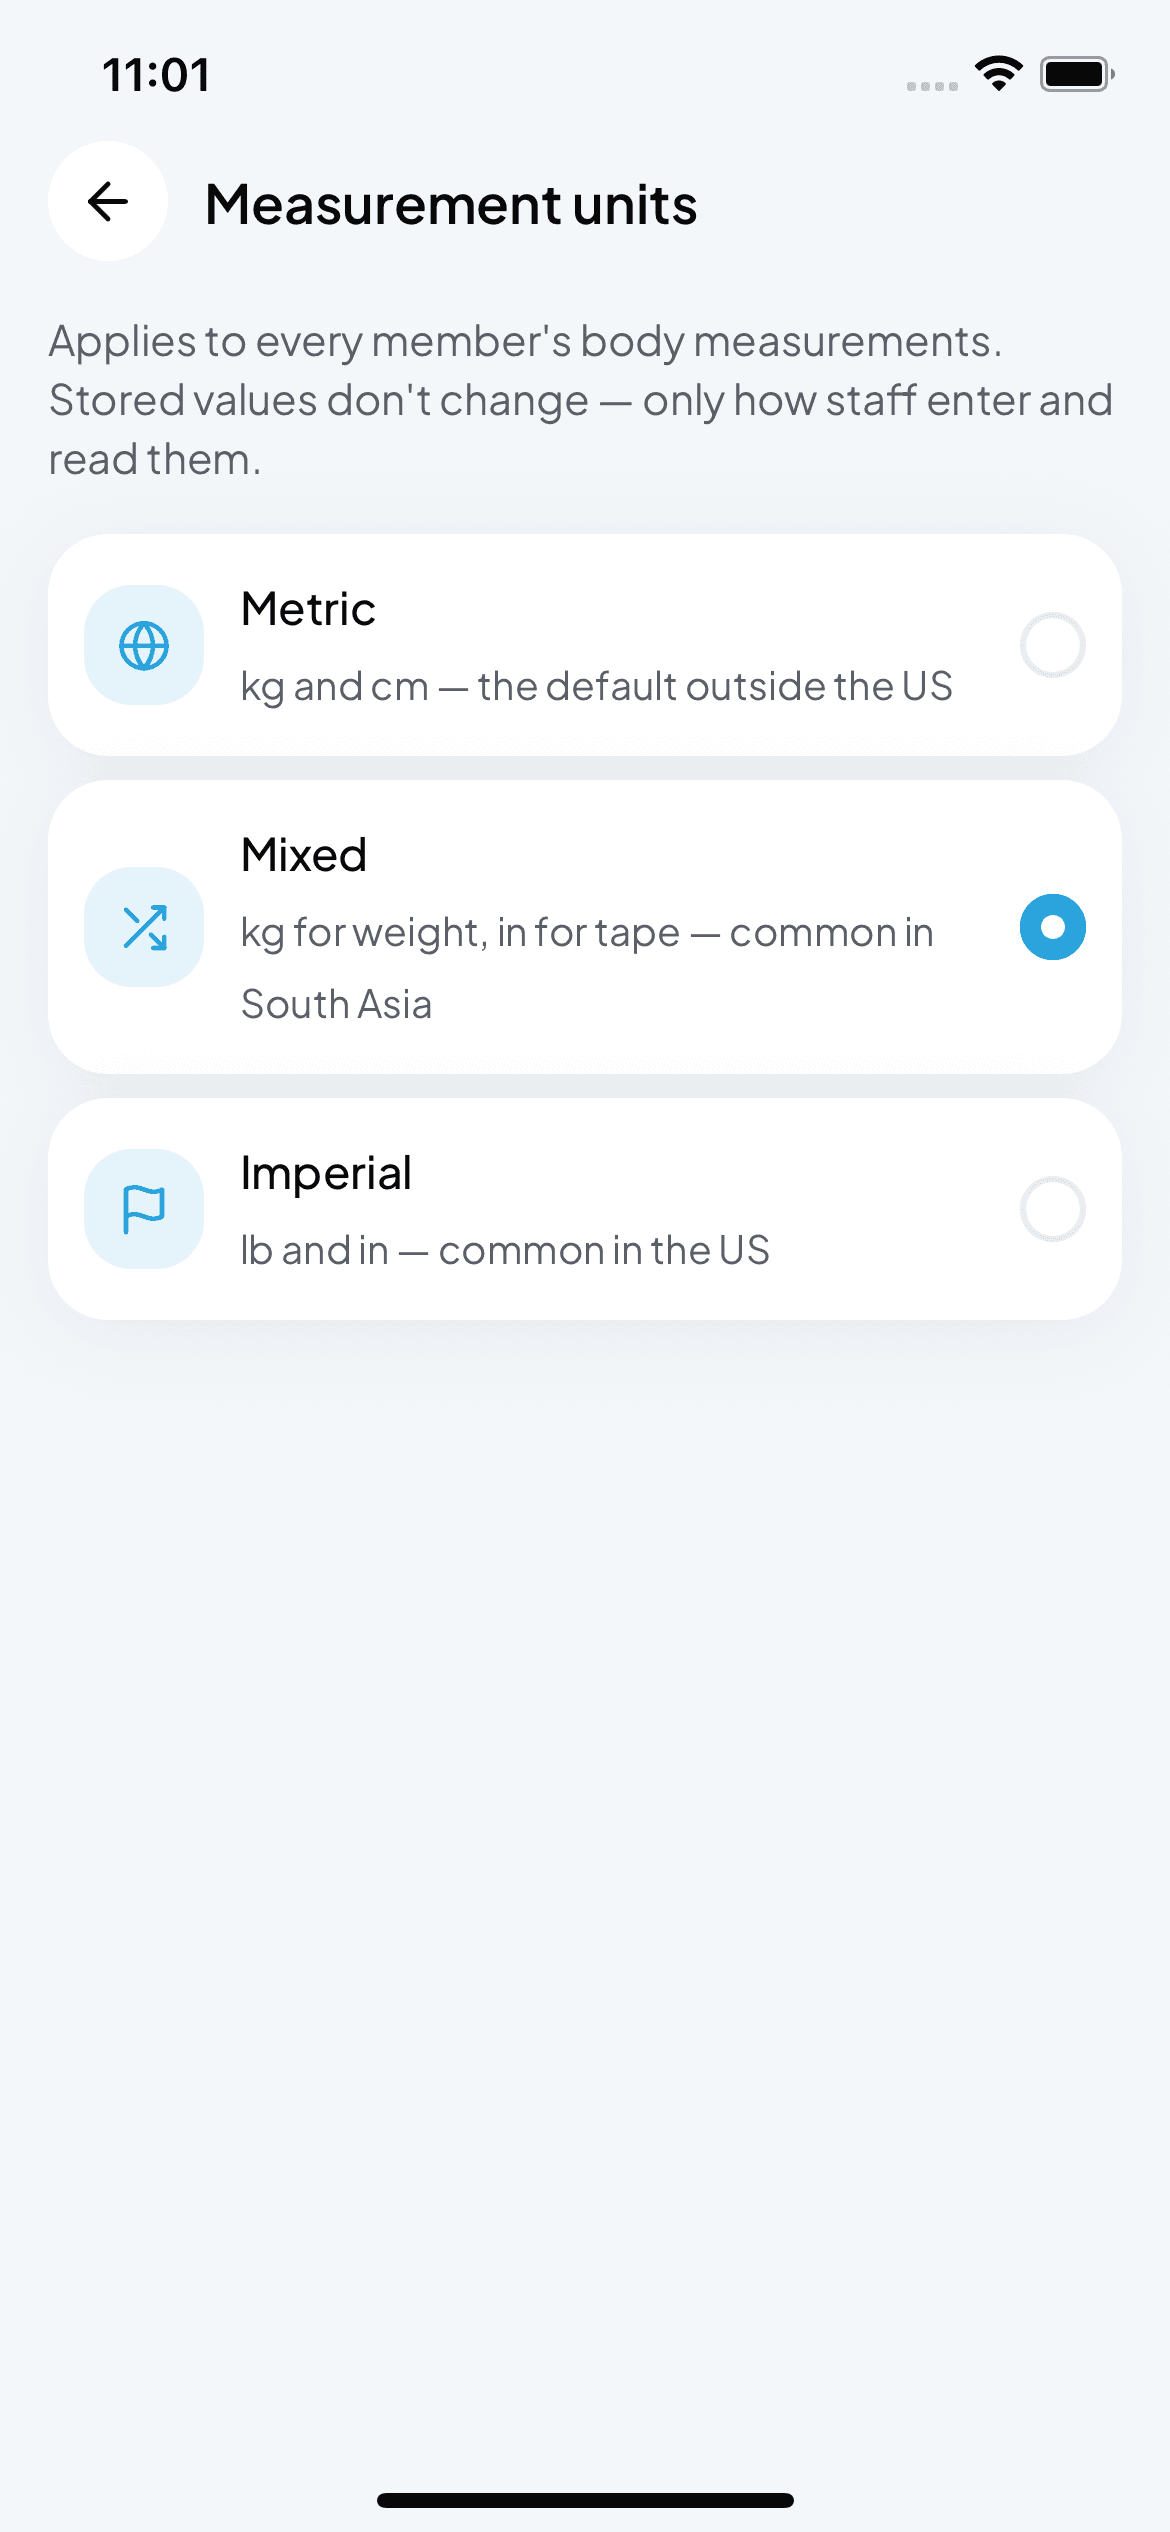
Tap Measurement units
Scroll to the Settings section. The row is labelled Measurement units with a subtitle showing the current choice — kg and cm, kg and in, or lb and in.
Pick one
Three options:
- Metric — kg and cm. The global default.
- Mixed — kg for weight, in for the tape. The common convention across South Asia (staff weigh in kg but call a chest measurement in inches).
- Imperial — lb and in. Common in the US.
Section 2 — Record a session
Open the member
Bottom tab Members → tap the row.
Tap Measurements
In the Activity section, tap the Measurements row.
Tap + in the top-right
On the measurements screen, tap the + icon. The New measurement sheet slides up with today's date already selected.
Fill only what you actually measured
The sheet is grouped into three sections:
- Body — Weight, Height, Body fat %.
- Torso — Neck, Shoulders, Chest, Waist, Hip.
- Arms & legs — Biceps L/R, Thigh L/R, Calf L/R.
Blank fields are fine. You only need to touch the metrics you actually took today.
Read the BMI panel
Once weight and height are both filled, a purple BMI card appears above the fields with the live-computed number. You never type BMI directly — it's always derived from weight and height.
Backdate if needed
The date strip at the top defaults to today, but you can pick any day in the last two weeks. Editing an older session? The strip shows the original date even if it's older than two weeks.
Add a note (optional)
The Notes field at the bottom is for anything worth remembering — "post-workout", "before breakfast", "on the calipers this time, not the InBody". Notes appear under each session in the measurements screen.
Tap Save
The session is stored and the grid re-renders with your new column on the left.
Section 3 — Read the change grid
The grid is the whole story of a member's progress in one view:
- Columns are sessions, newest on the left. The leftmost column is tinted purple and labelled Latest.
- Rows are metrics, in the same order as the entry sheet — Weight, Height, BMI, Neck, Shoulders, Chest, Waist, Hip, then the paired limbs.
- Under each value you'll see a ▲ or ▼ delta, colour-coded:
- Green — the metric moved in a good direction (waist down, biceps up, weight is neutral because you don't know if the member is cutting or bulking).
- Red — the metric moved in a bad direction.
- Grey — a neutral metric (weight, height, hip) or no change.
vs previous vs. vs first
Above the grid, when there are two or more sessions, a two-tab control lets you flip what the delta is measured against:
- vs previous — each session's delta is compared to the session immediately to its right (the last session before it). Answers "what changed since last time?"
- vs first — each session's delta is compared to the very first session on record. Answers "how much has this member moved since day one?"
The values in every cell stay the same across the two modes; only the reference for the ± beneath each cell changes. The oldest column shows no delta in either mode because there's nothing further back to compare against.
Section 4 — Edit or delete a session
Bad entry? Slipped a decimal? Every session is editable.
Tap the session date
In the grid, tap the header cell (the date, e.g. 12 Aug) of the column you want to change. An action sheet slides up with the full session date.
Pick Edit or Delete
- Edit session — opens the entry sheet with every field pre-filled with that session's values. Change what you need, tap Save.
- Delete session — asks for confirmation, then removes the session and re-renders the grid without it. There's no undo — but you can always add the same numbers back as a new session.
Section 5 — What the metrics mean
Not every gym takes every measurement. Here's the shorthand:
- Weight and Height — the basics. Height is usually taken once and left alone; Fytlink carries the last value forward so BMI stays computable even if you skip height in later sessions.
- BMI — derived, not entered. Reads red for very high or low, but on its own it's a crude number. Waist-to-hip and body fat % are better single indicators for most members.
- Body fat % — from calipers or a BIA scale (InBody, Omron, etc.).
- Torso group (Neck, Shoulders, Chest, Waist, Hip) — the classic tape measurements. Waist is the most sensitive to short-term change; Hip is neutral because "up or down" depends on the member's goal.
- Limbs — left and right separately. Difference between sides is useful for spotting imbalance; treat a 1–2 cm gap between L and R as normal unless there's an injury.
Blank rows never render — if nobody ever measured a member's calves, the calf rows won't clutter the grid.
Common questions
Can members log their own measurements from the consumer app? They can log their own body measurements, but they show up as member-recorded sessions and don't overwrite the gym's ledger. Gym-recorded sessions and member-recorded sessions live side by side.
A member's waist jumped 5 cm in one session — did I mis-measure? Probably. Waist is very sensitive to time of day, food in the belly, and where exactly you place the tape. If you doubt an entry, edit or delete it — the audit trail isn't strict here.
Can I add my own custom metric (e.g. skeletal muscle mass)? Not yet. Fytlink ships with a fixed metric set that covers what a tape and a caliper actually collect. If you're getting InBody prints and want to track skeletal muscle mass, log a request via Send feedback in the profile — we're prioritising the top additions from real gyms.
What if a member switches gyms and comes back? All their historical sessions stay tied to their membership — you'll see the full grid the moment you open Measurements on that member.
Why is one value shown in green when the number went up? Because for that metric, "up" is the direction of progress — biceps, shoulders, chest and calves all tint green when they grow. Waist, body fat and one or two others tint green when they shrink. Weight and hip are neutral (grey) because progress depends on the member's goal.
Keep reading
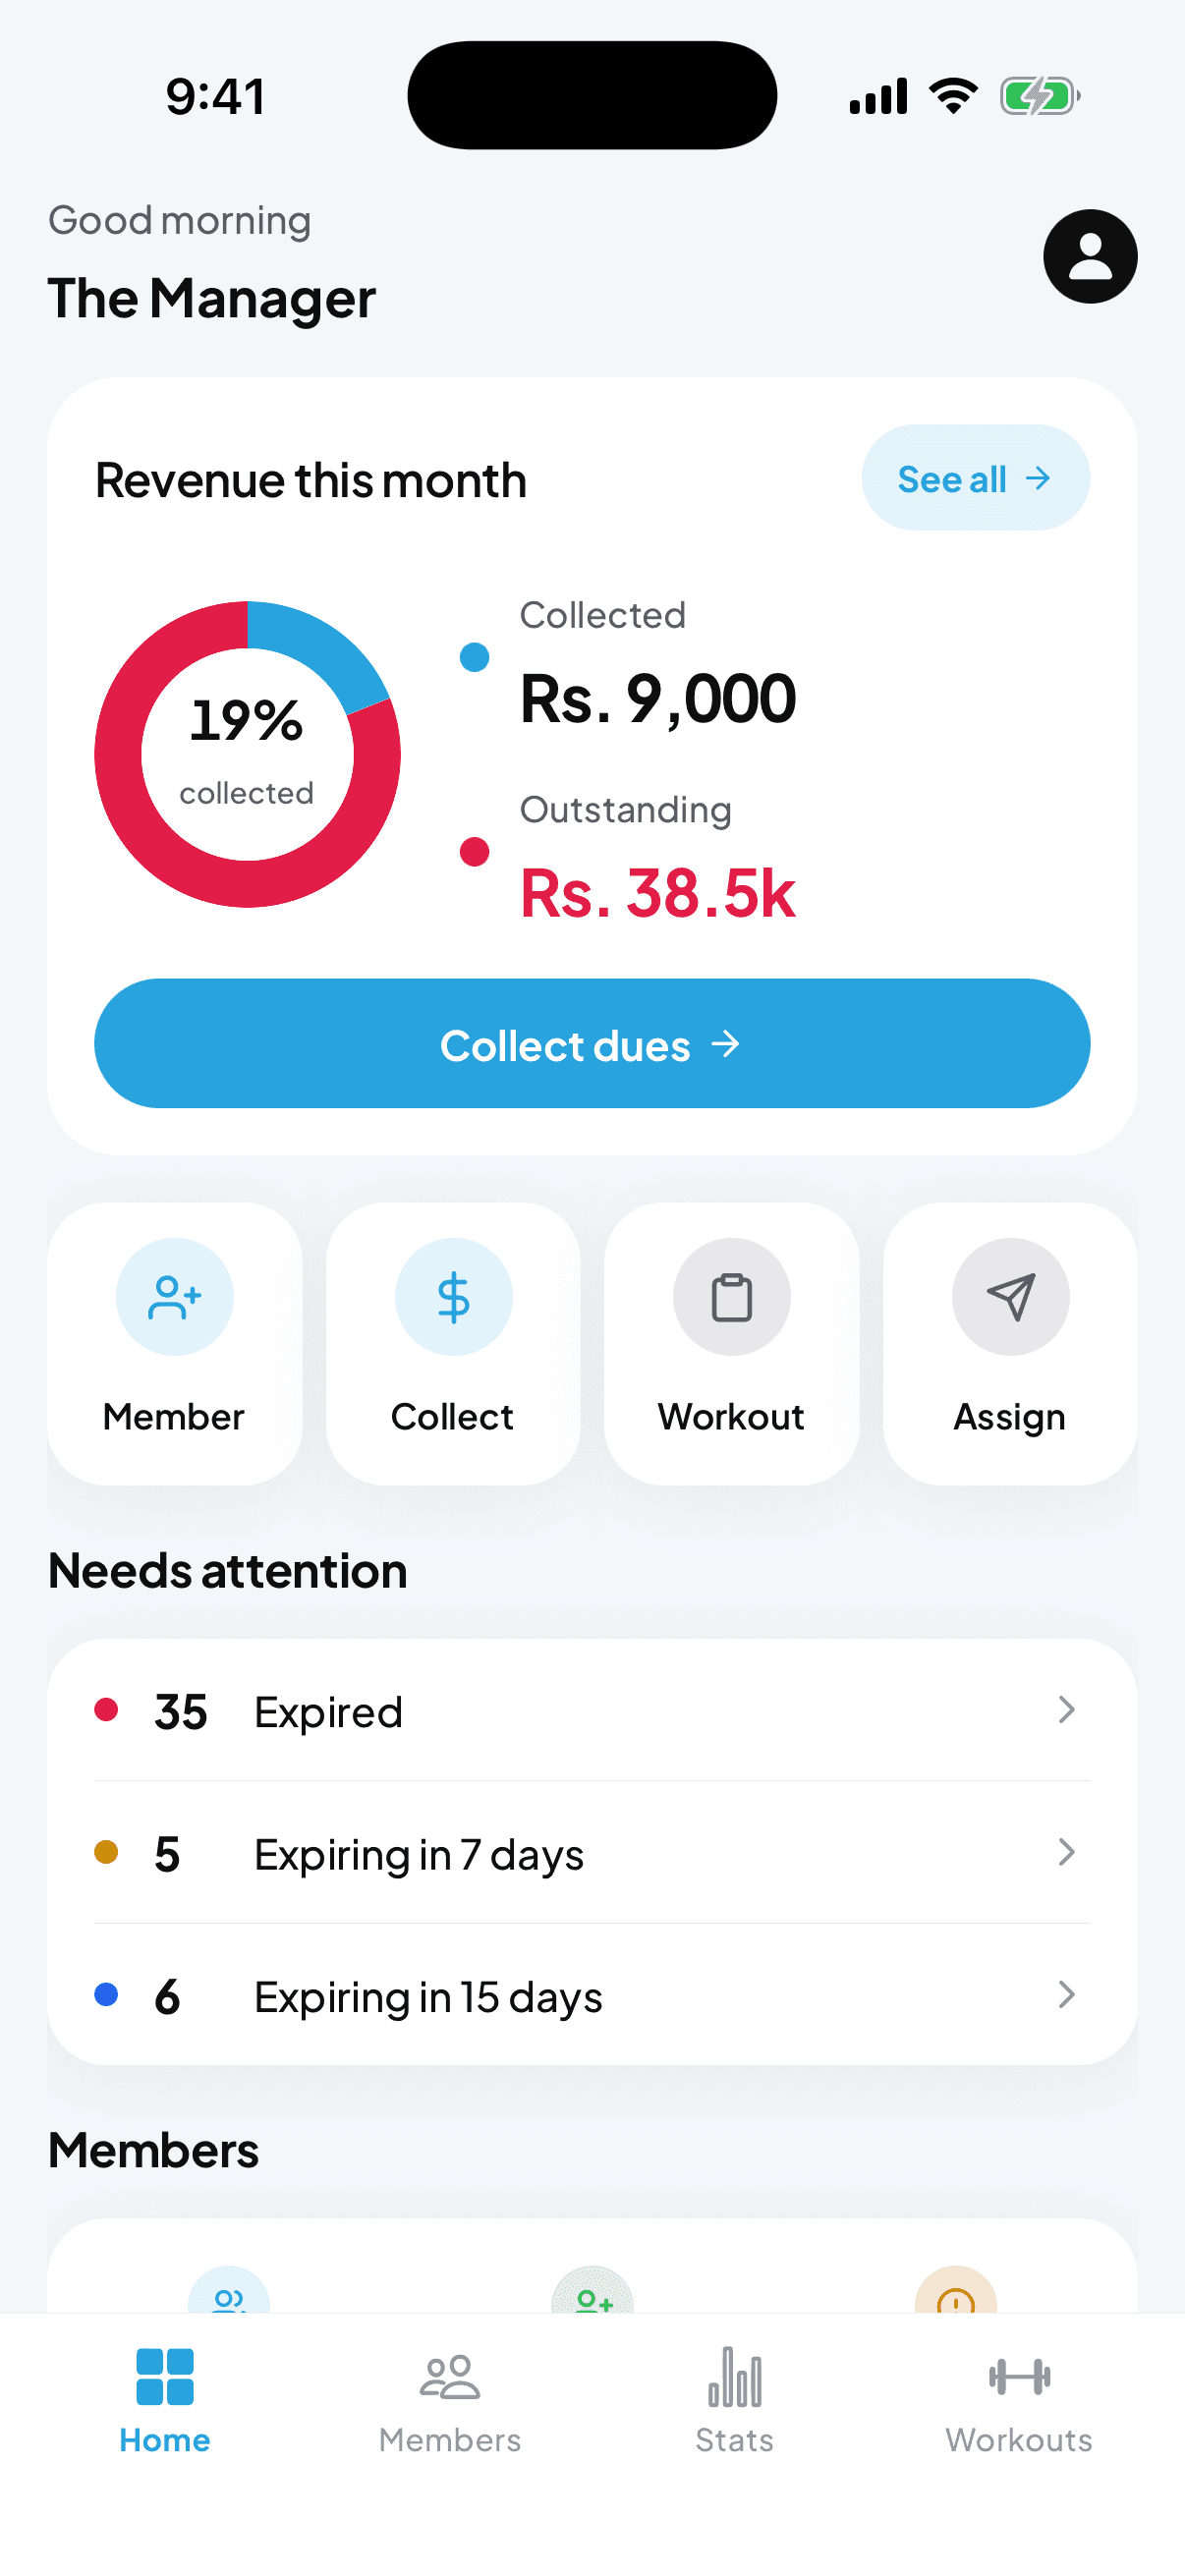
How to add your first member
A 60-second walkthrough for getting your first gym member into fytlink — from name and phone through their first plan.
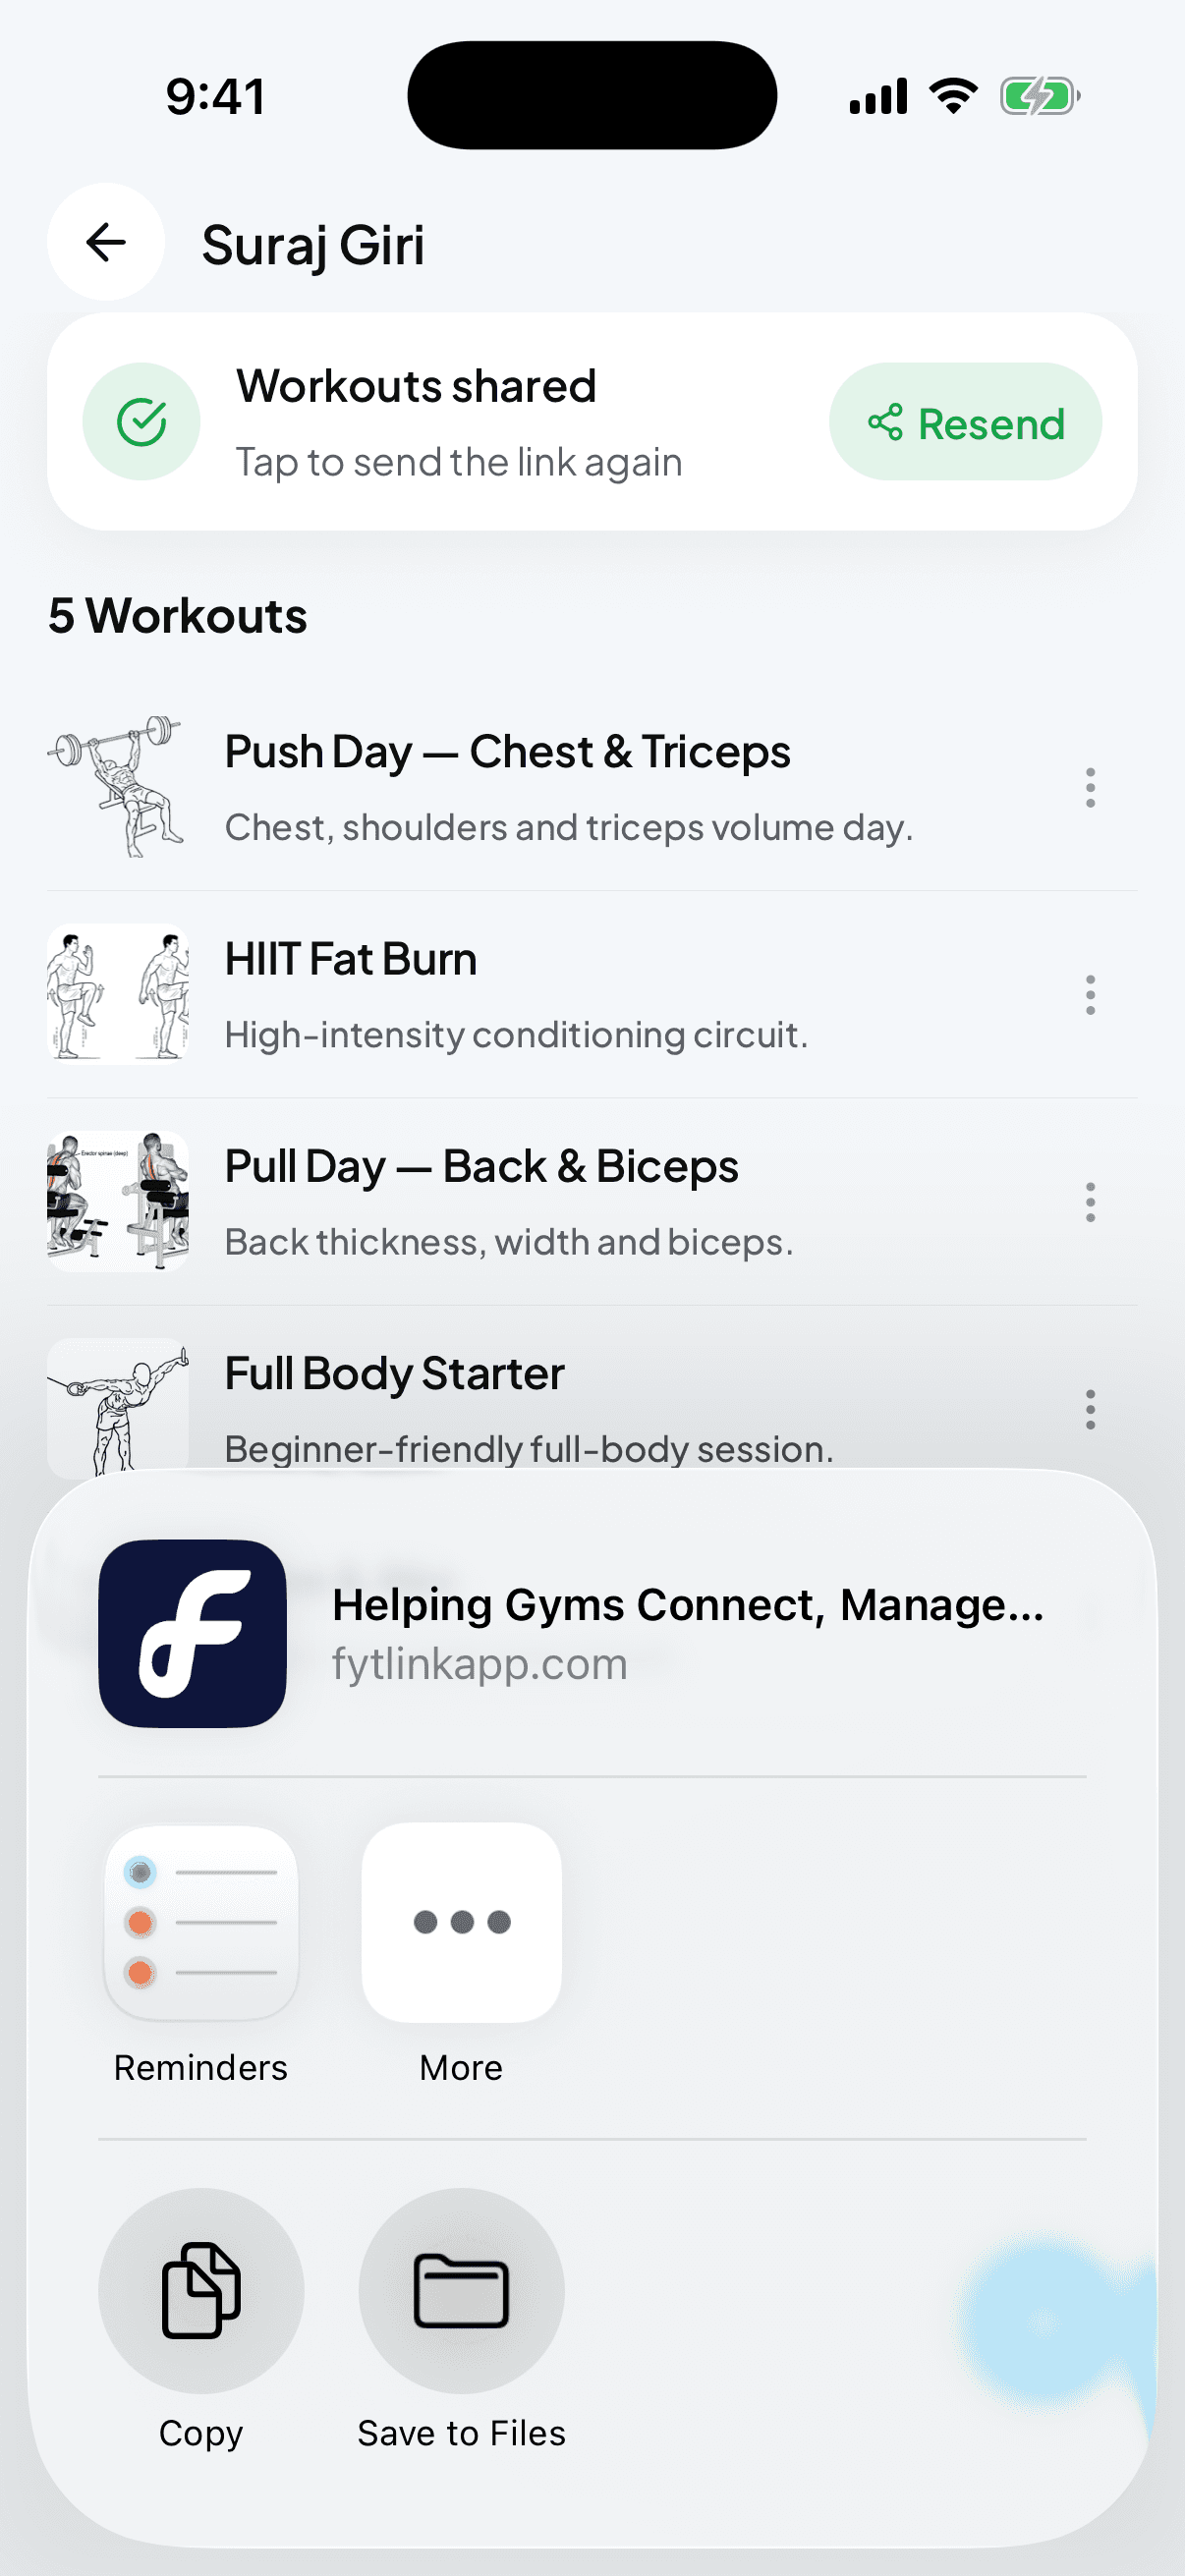
How to build, assign, and share workouts
The full workout loop in Fytlink — build a routine (from scratch or from your handwritten note), assign it to a member, and send them a private link they open on any phone. No app install for them.
How to set and adjust the admission fee
The admission fee is a one-off charge that every new member pays when they join. Set it once, skip it for anyone you want.